Concrete Preparation Mastery: A Blueprint for Perfect Epoxy Floors
Every contractor needs to know their installation process like the back of their hand. Far too often, concrete preparation is underprioritized during the installation process. Surface preparation is one of the most essential parts of an epoxy resin flooring installation. Not only will it help your floors turn out more beautiful, but it also dramatically increases the adhesive properties of epoxy resin.
Here at EpoxyETC, we're your central hub for all things epoxy flooring. That means epoxy resources, installation tools, and the knowledge you need to use them all efficiently! With this guide, you'll be on your way to installing beautiful and strong epoxy resin floors.
EpoxyETC's Guaranteed Concrete Preparation Guide
Step One: Cleaning, Degreasing, and System Removal
Concrete preparation starts with eliminating all contaminants. Grease or dust creates adhesion barriers that cause premature failure.
- Remove coatings/sealers: Scrape off peeling materials - they'll lift epoxy later.
- Degrease: Use Xtreme Concrete Cleaner (pH-neutral formula safe for polished concrete)
- Pressure wash: Low pressure only to avoid driving dirt deeper
- Dry thoroughly for 24-48 hours; verify with a plastic sheet test.
Every successful epoxy resin system installation begins with a clean foundation. Dust and debris are obstructive and ruin adhesive integrity; oil residues repel epoxy in much the same way water repels wax. No matter what the issue may be, an unclean surface ultimately ends up costing you more money in the long term.
Step Two: Concrete Crack Repair, Leveling
Concrete preparation requires repairing damage before it spreads under stress.
-
Hairline and Surface Cracks: Our 2025 guide on concrete crack repair will help you address all the minor cracks that could compromise your epoxy resin installation.
-
Patch Spalling: Spalling is often a result of poorly prepared concrete or seasonal cycles (especially in areas prone to freezing). If your spalling affects the entire slab, however, it may be beyond the point of spot repair. Contact our technicians for personalized advice on addressing potential slab replacement needs.
-
Expansion Joints: Use flexible fillers, such as EpoxyETC's Polyurea Concrete Joint Sealer, that move with seasonal shifts. Concrete joint health is often a neglected aspect of long-term concrete maintenance.
What'll happen to your floors if you don't treat these cracks and joints? Unrepaired cracks telegraph through epoxy like fault lines. Visible damage reappears over time, and in the case of foundational spalling or neglected expansion joints, the damage will only worsen. Your concrete and your epoxy deserve the best possible foundation to maintain their strength over the years of use.
Finally, once you've completed your various repairs (or replacements), ensure the entire foundation is level. For inclines such as on driveways, you're looking for a relatively level surface. The last thing you want is to prepare your concrete and start your installation, only to realize your resin is pooling in one specific spot!

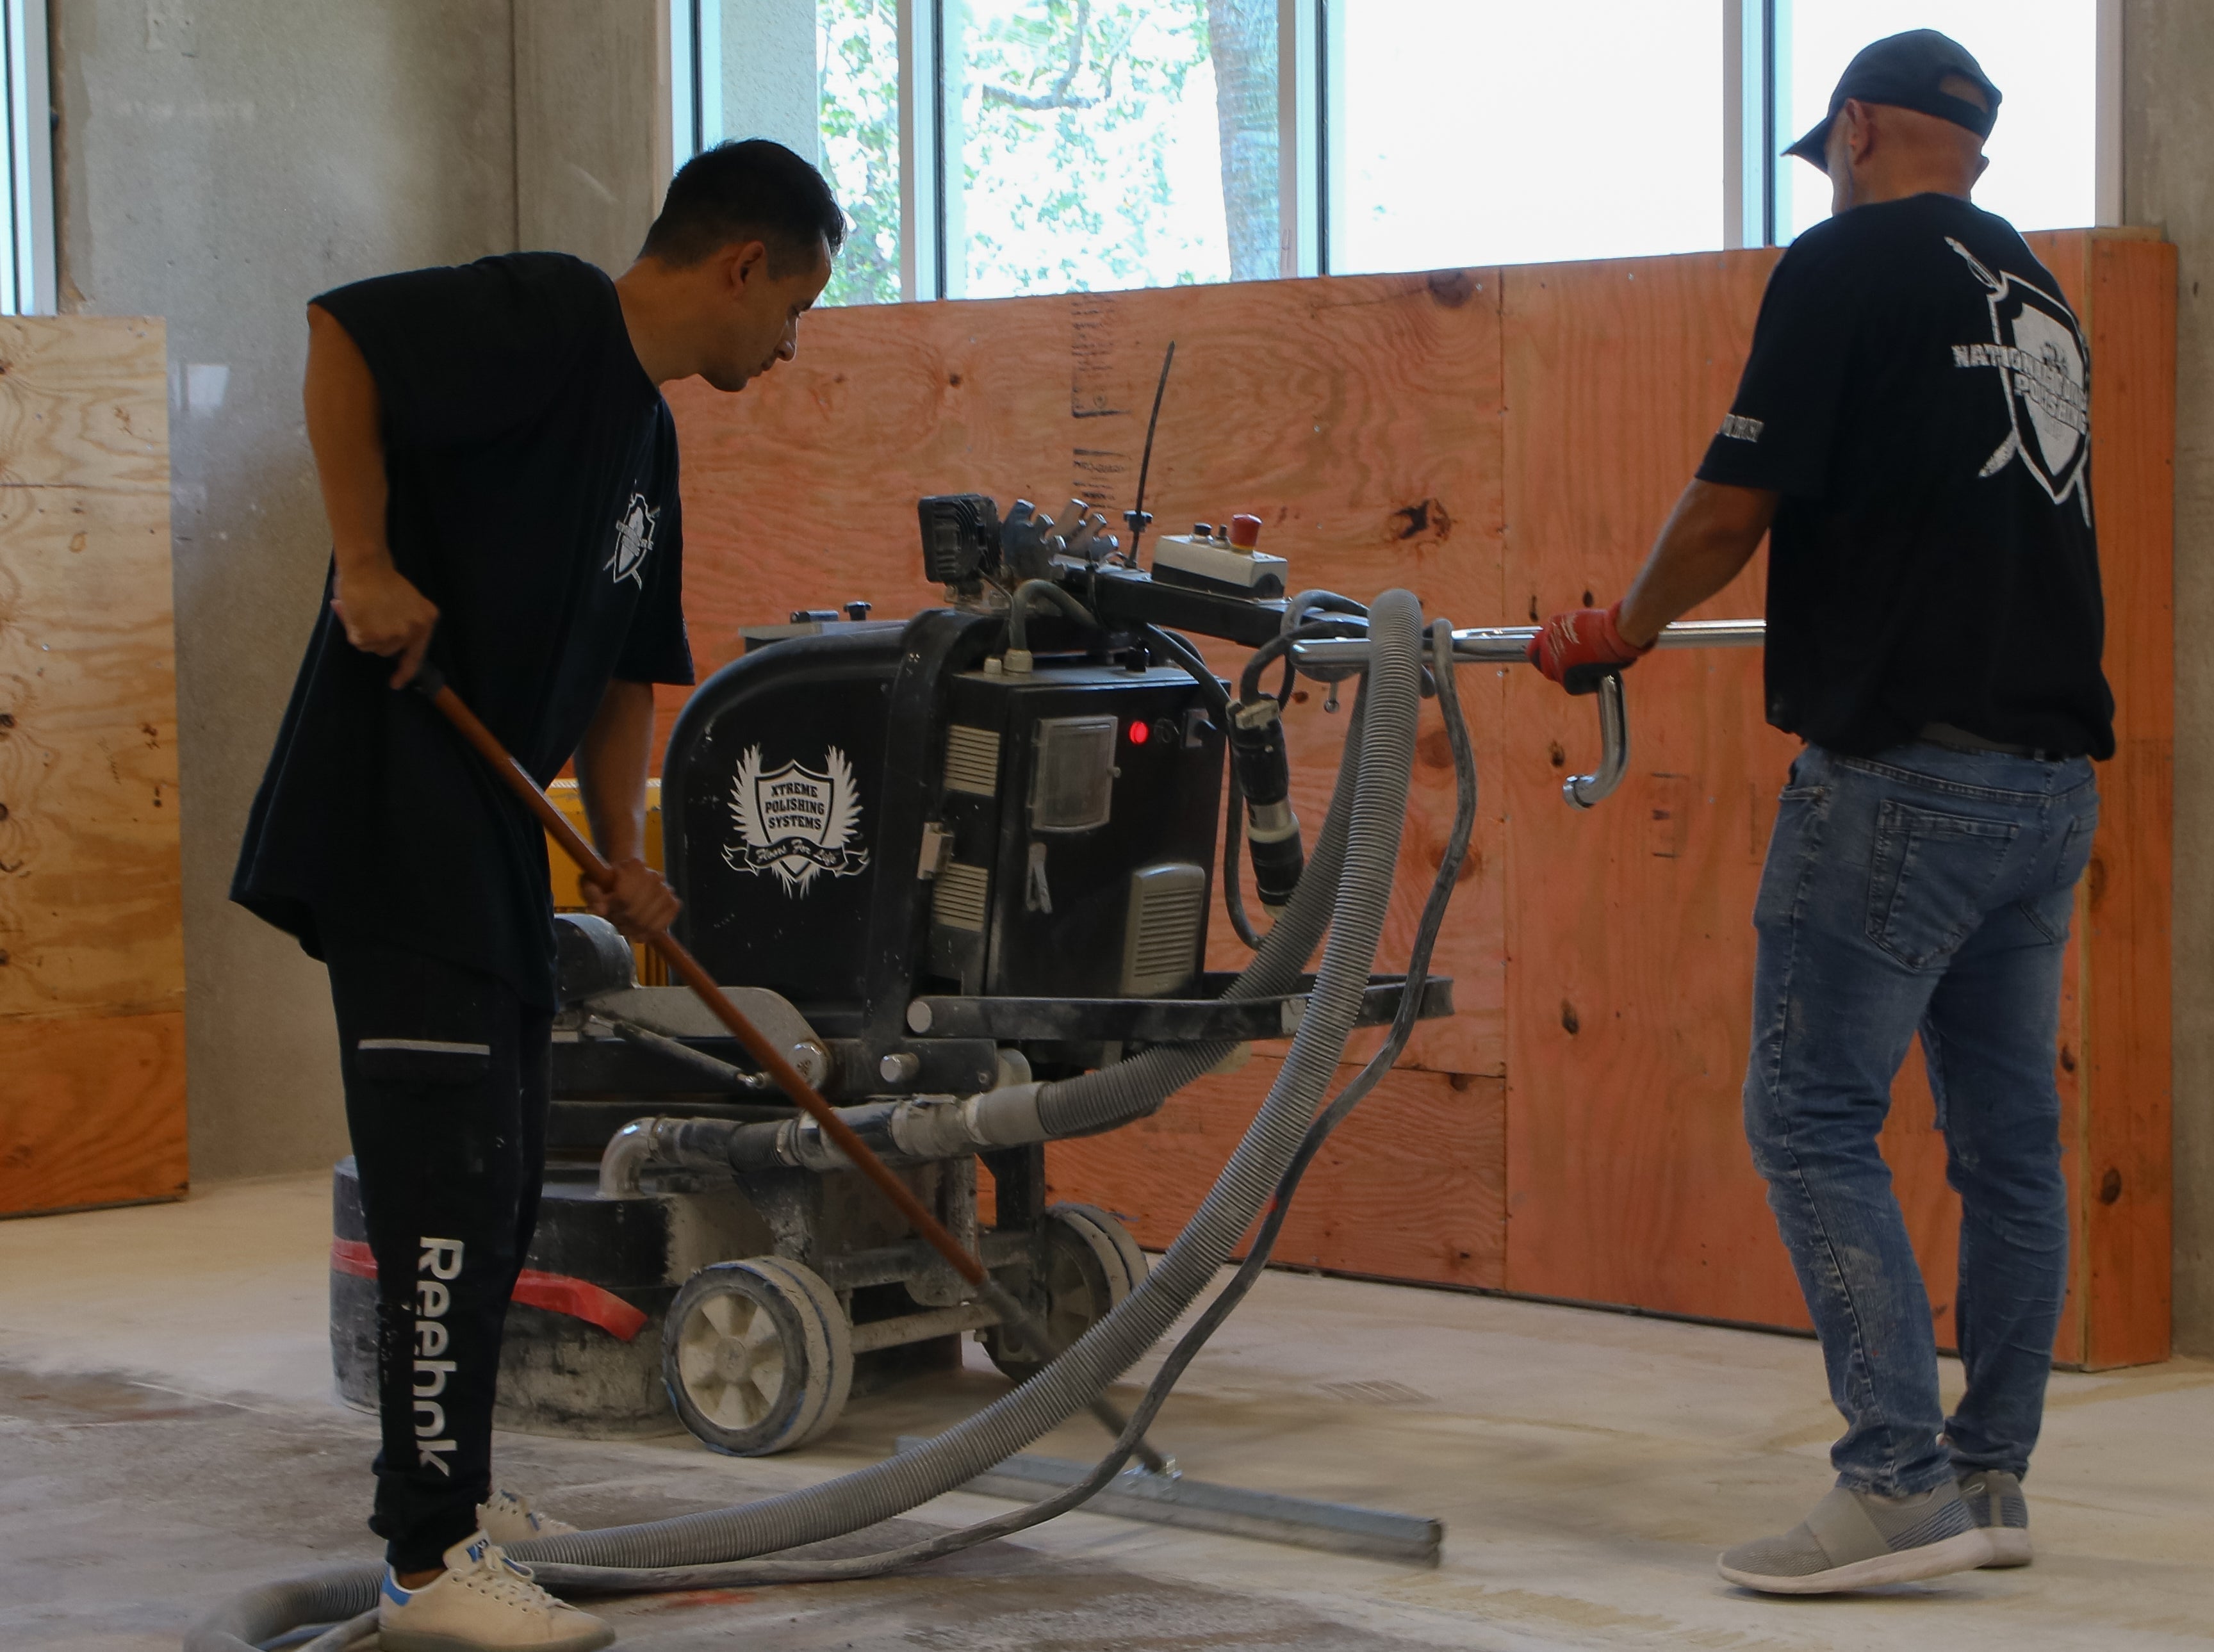
Step Three: Surface Preparation, Grinding, and CSP
PSA: While older guides mention acid etching, industry professionals now avoid it due to inconsistent results and safety risks. Use acid-based solutions at your own risk.
Recommended Mechanical Approaches to Concrete Preparation:
-
Diamond Grinding: Creates uniform CSP 2-3 profiles. Diamond grinding concrete is the most effective and consistent method for achieving the perfect CSP for an epoxy resin installation. We recommend sourcing your diamond grinding concrete tooling from Xtreme Polishing Systems.
-
Shot Blasting: Removes thick coatings while profiling. If you're working on a flooring renovation or need to remove a previous coating, shot blasting is an effective method for doing so.
Concrete preparation is all about creating the perfect foundation for your epoxy resin to adhere to and bond with. When it comes to establishing the long-term strength you're looking for, mechanical preparation is the way to go. Whether it's shot blasting or diamond grinding concrete, you can't go wrong with a mechanical solution.
Step Four: Moisture Testing, Moisture Barriers, and Concrete Preparation
Concrete preparation isn't complete without moisture verification. Moisture testing for concrete is a crucial step in protecting the long-term integrity of your epoxy resin system. Even if you aren't installing epoxy, hidden moisture in concrete is a surefire way to end up with cracks or costly reinstallations down the line.
-
Plastic Sheet Test: Although this method is time-consuming and not exact in its measurements, it is incredibly inexpensive and easy to accomplish. If you need to detect basic capillary moisture before installing epoxy resin, use the plastic sheet test!
-
Moisture Testing for Concrete Tooling: A well-equipped contractor understands the importance of conducting proper moisture testing for concrete. A simple testing meter, whether destructive or non-destructive, will often reveal how much moisture your concrete may be hiding.
-
Barrier Application: Whether you're dealing with active moisture or just looking to protect against future issues, a moisture barrier is your number one tool to tackle this floor killer.
Hidden dampness causes bubbling that can't be repaired. Sometimes, you'll be lucky enough to catch these bubbles during your epoxy resin's cure time. Often, though, it'll appear in the form of costly rework months or years after installation. This is likely a result of delamination or peeling that the moisture has caused.
Step Five: Concrete Cleaning, Final Checks, And Installation
Complete your concrete preparation with surgical dust removal. Vacuum twice (after grinding → after damp-mopping). Inspect with angled lighting - dust hides in shadows! You've done all this work to make the perfect foundation for your epoxy resin system, so don't mess it up now. Take that extra time and care to ensure nothing is standing between your resin and the professionally prepared concrete.
Once you've determined your concrete is ready, you can start applying your epoxy resin. How you approach the rest is entirely up to you, but our guide on epoxy resin installation is a great place to start after this.
Conclusion
The professional contractor knows the value of proper preparation of concrete. Don't get left behind just because of concrete preparation! With this guide, you'll be ready to start installing beautiful and strong epoxy resin floors in all settings. Start with the right foundation, and get your foundations right with EpoxyETC.
Are you a contractor who needs product or job assistance? A DIY enthusiast in search of a project? Contact our specialists at (954) 287-3797 today! Our EpoxyETC online store is your central DIY epoxy resin flooring hub.


