How to Upgrade Epoxy Resin Floors with Glitter, Glow & LEDs
Your Floors, Your Way
It's 2024 now, and epoxy resin's amazing year in 2023 means the sky is the limit for the future. Just to emphasize those possibilities, we're showcasing three glamorous, easy-to-install epoxy resin projects for your next renovation!
Epoxy resin really is a wonder solution - no matter your vision, it'll help you achieve it. From glimmering glitter floors, to floors that shine bright even in the darkest spaces, everything's possible!

Project 1: Glitter-Infused Epoxy Resin
For each of these projects, you're going to need to start with a completely clean, fully prepared concrete/other hard surface. It only takes a fraction of extra time and work, but it'll guarantee stronger results for long-term flooring.
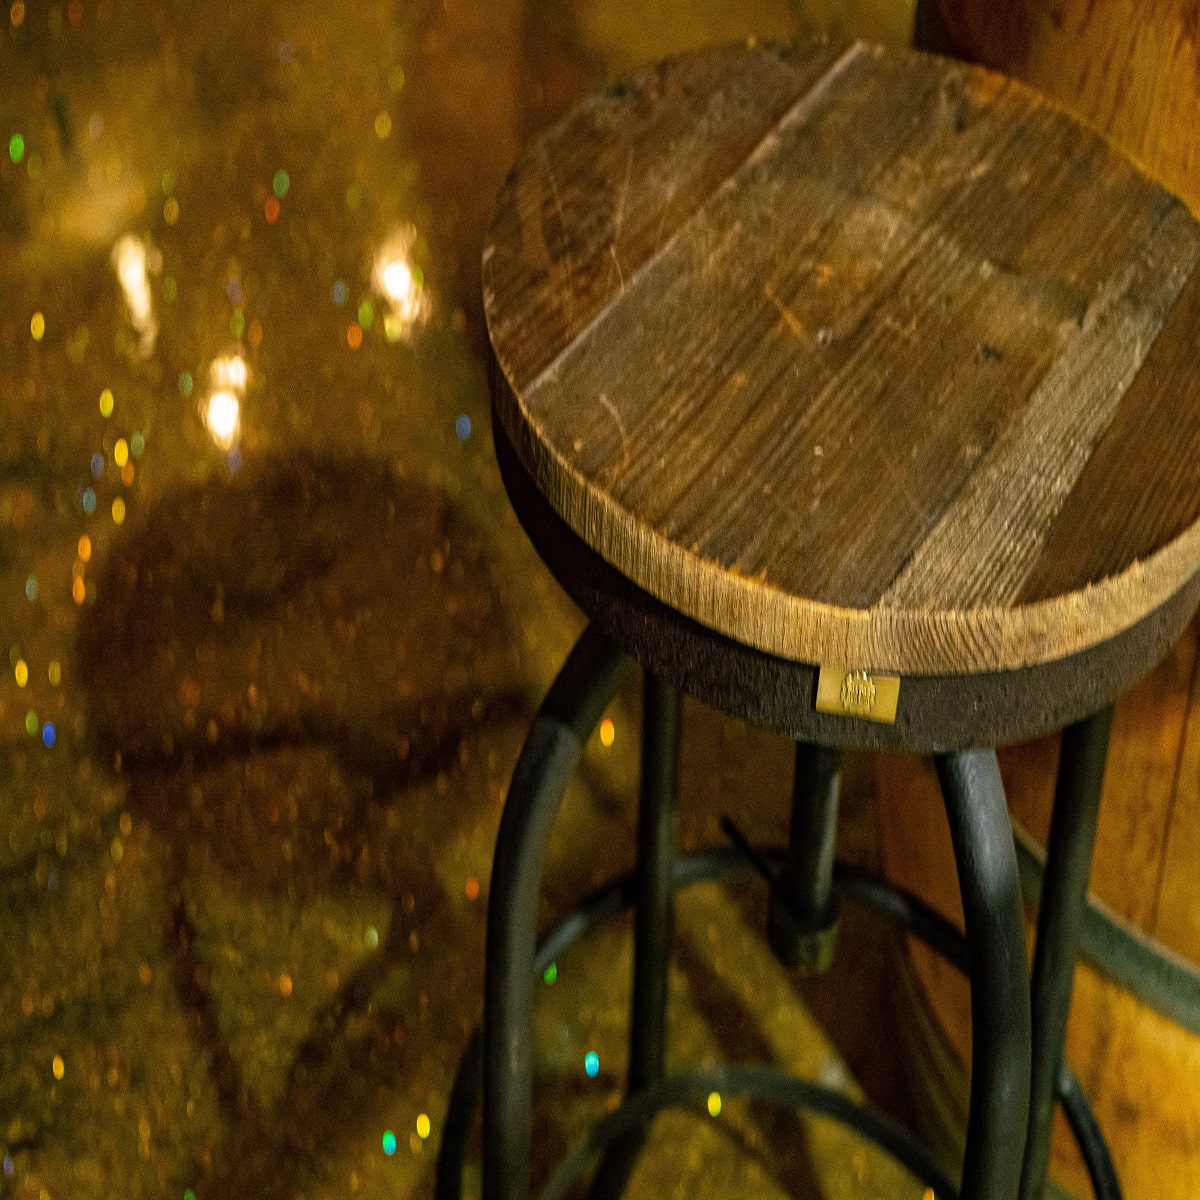
Glitter is incredibly easy to install. Generally, you'll just need to follow standard epoxy resin installation procedures. Before installing your final epoxy resin later, sprinkle glitter to your desired look. Play with sizes and colors to create a bespoke sparkle. Then, seal the brilliance with a clear epoxy topcoat, and you're done!
Project 2: Glow-in-the-Dark Epoxy Resin
Start with your standard surface preparation, but don't move forward with the standard epoxy installation just yet! When you're mixing your epoxy resin solution, blend the epoxy with glow powder for a consistent luminescence.
Pour the glow epoxy, give it some UV or sunlight exposure, and once it's cured, give it a shiny, glossy topcoat.
Project 3: LED-Embedded Epoxy Resin
Once again, you'll need to prepare your surface to perfection before starting the installation. Every minute you dedicate to preparation is an investment into your floor's future strength!
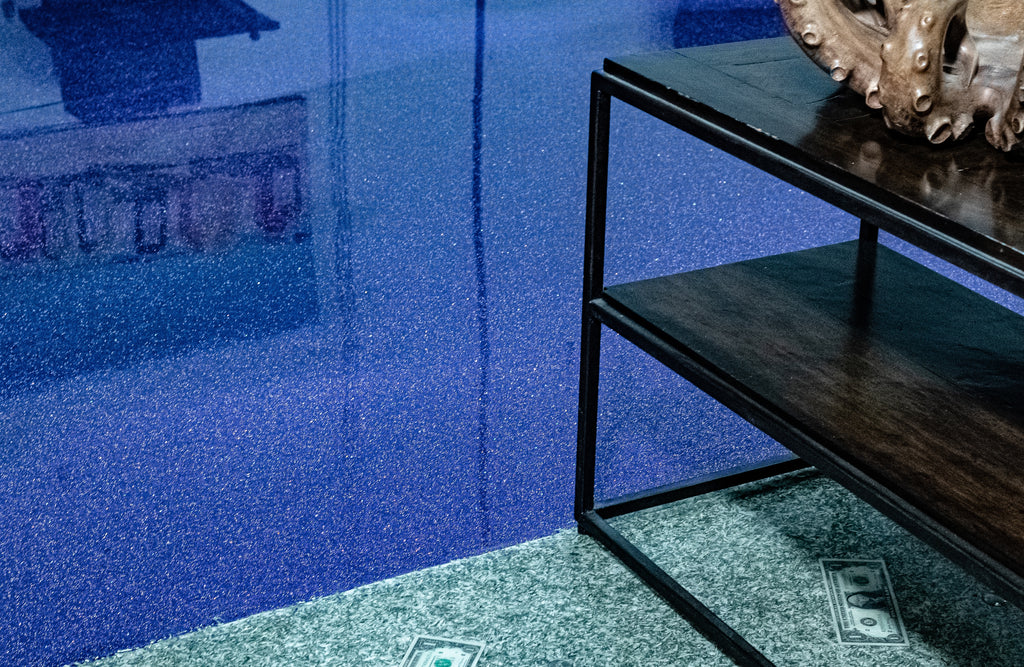
For LED epoxy resin, the installation is very simple. After you've prepared the surface, just continue with your normal epoxy installation. Before you apply your topcoat, while that second-to-last layer is curing, embed the LEDs into the resin.
Don't forget to plan ahead for where your LEDs will be receiving their power from! Prepare to hide any outlets with furniture, and don't let the power source sink into the resin. After that, just let it cure for the manufacturer-recommended amount of time and apply the topcoat!
Conclusion:
Epoxy resin's just getting started! There's worlds of creative visions waiting to be created, and our guide here is just an intro into some of your options. Whether you're a glitter and glam kind of person, or a glow-in-the-dark and LED household, these projects will keep your space fresh and alive for years to come!
Are you a contractor looking to step your business into the future? Or are you taking DIY enthusiasm to the next level? Reach out to our technicians at (954) 228-8856 to get personalized advice from industry veterans. For quality resources, our online EpoxyETC store will deliver everything you need at competitive prices!
- concrete
- concrete epoxy
- concrete epoxy solution
- countertop epoxy resin
- diy epoxy
- diy epoxy resin
- epoxy
- epoxy accessories
- epoxy colors
- epoxy countertops
- epoxy diy
- epoxy efficiency
- epoxy floor
- epoxy glow
- epoxy issues
- epoxy job
- epoxy lights
- epoxy preparation
- epoxy projects
- epoxy resin
- epoxy resin diy
- epoxy resin glitter
- epoxy resin risks
- epoxy risks
- epoxy solutions
- epoxy trinkets
- glitter epoxy
- glow epoxy
- glow in the dark epoxy
- led strip epoxy


