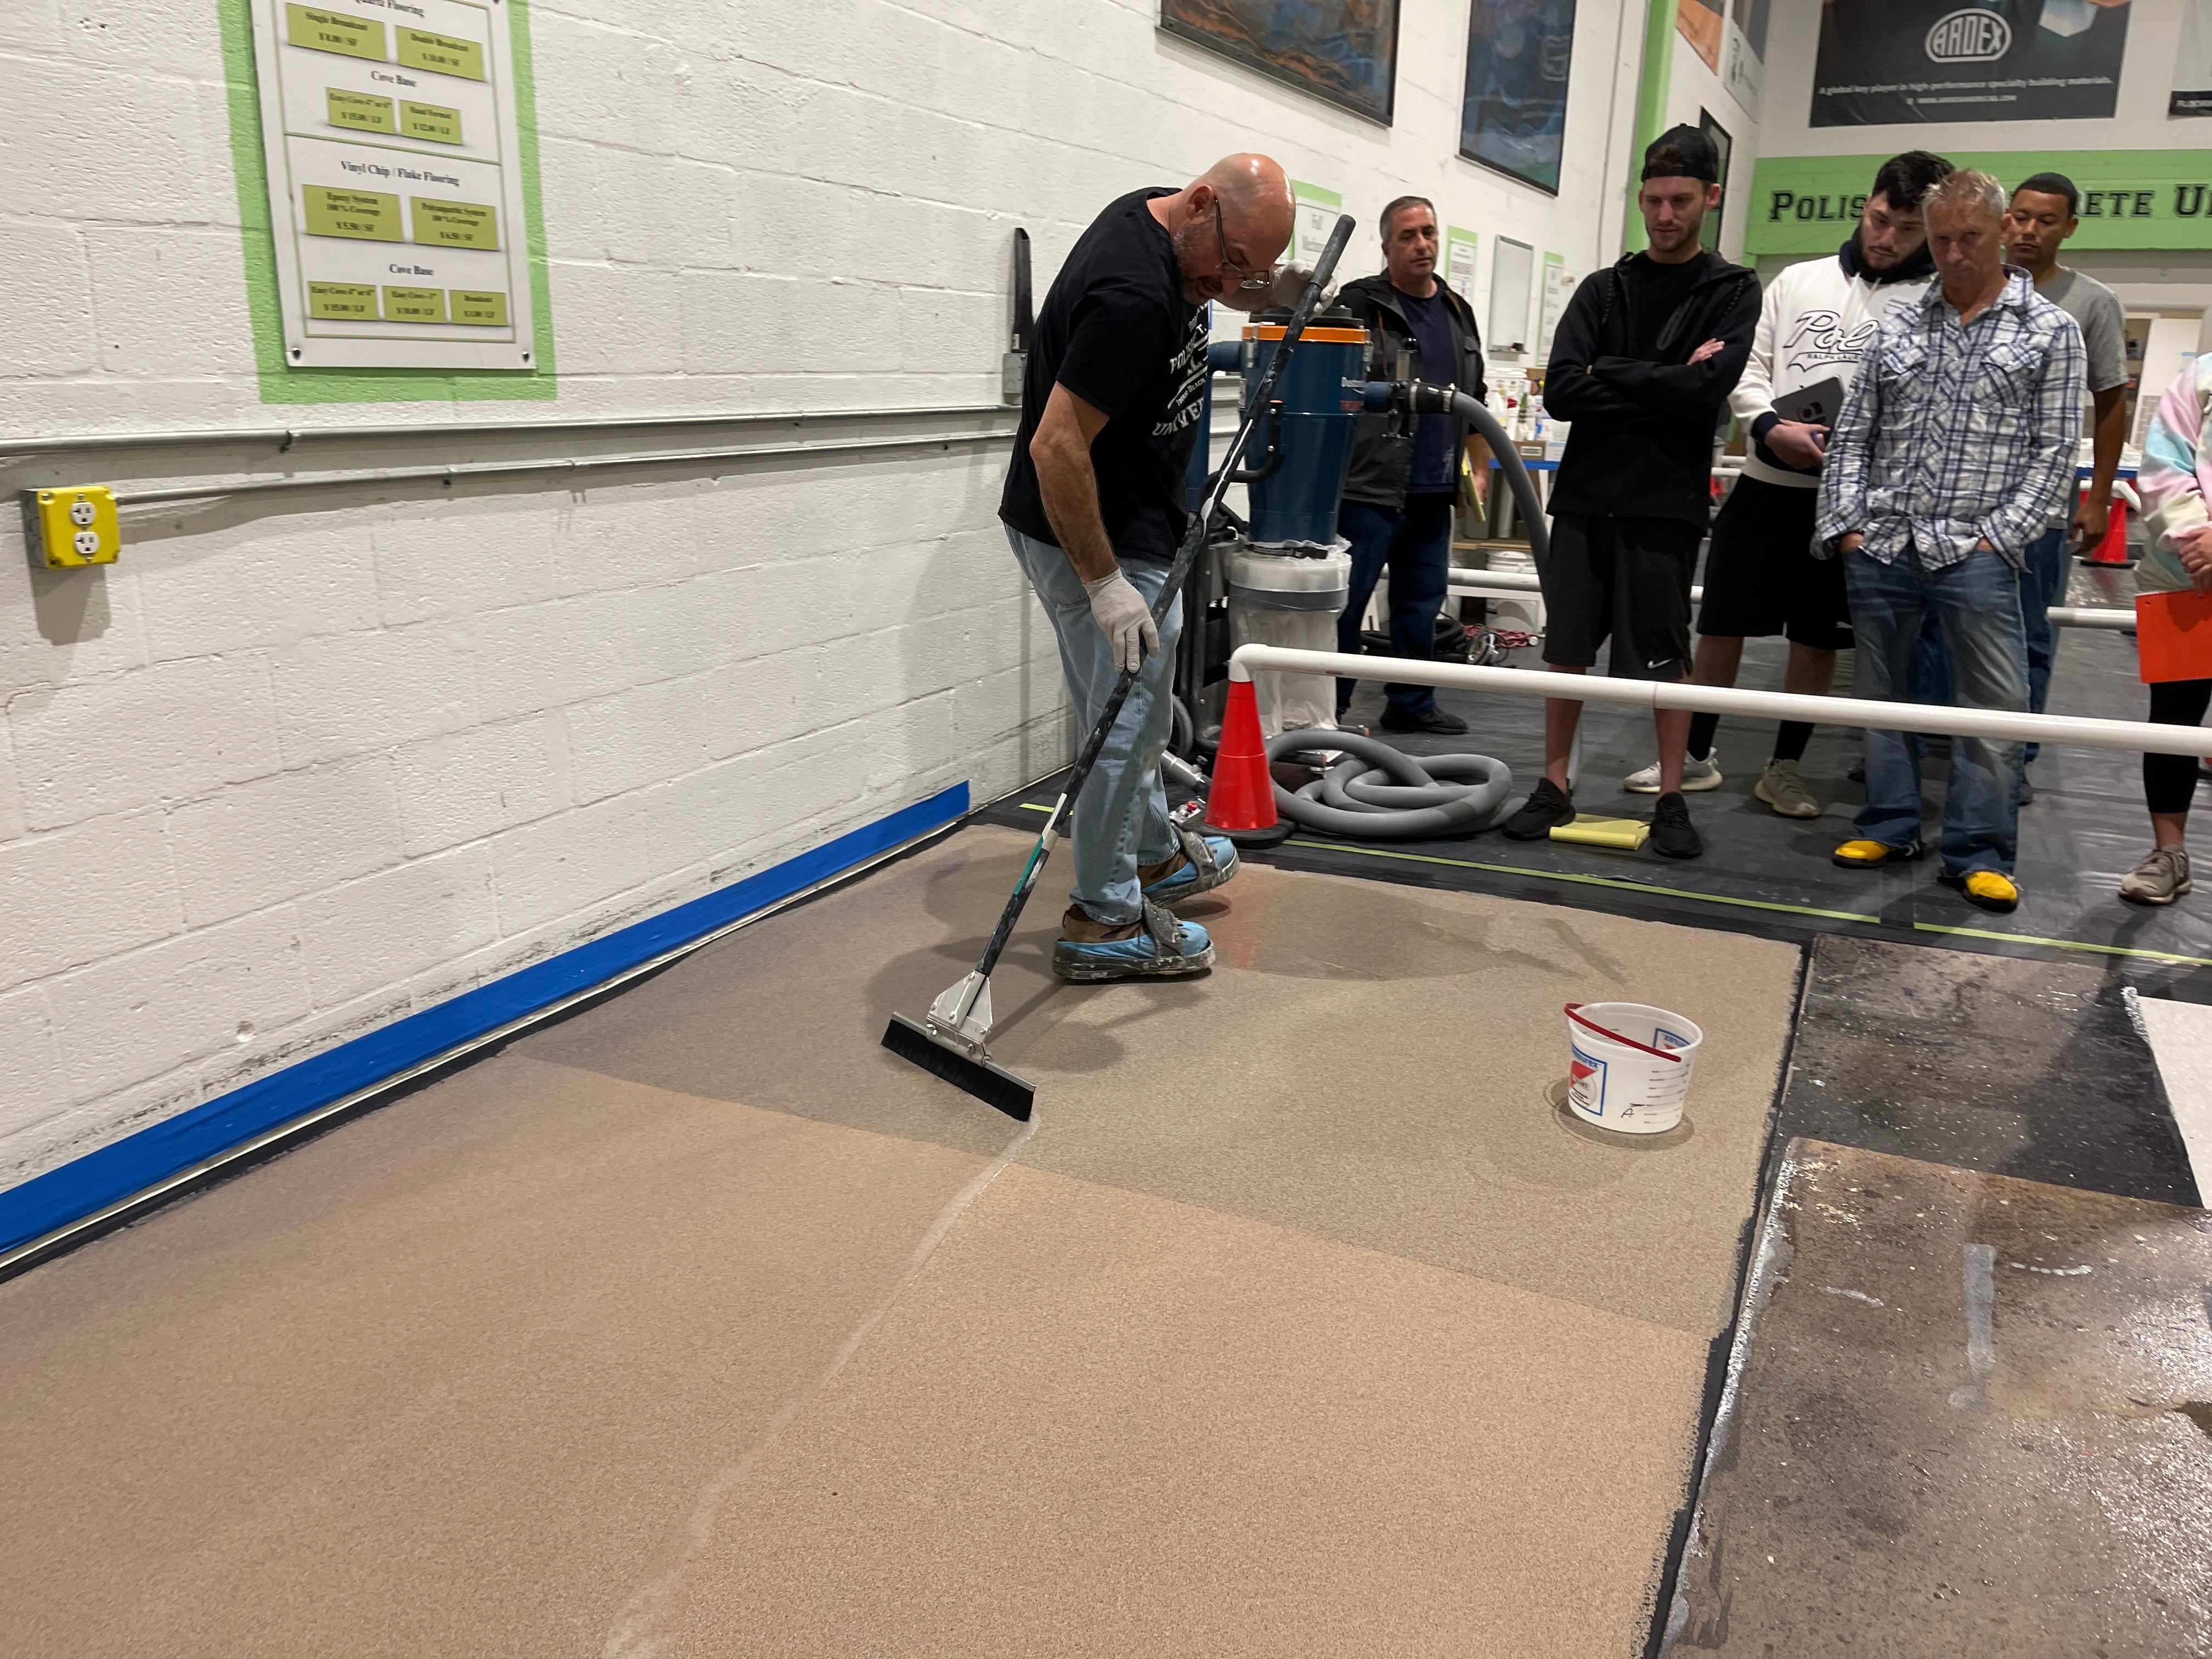
Concrete Stains: How to Transform Concrete Floors
When you set out to maximize your business's brand, you realize that first impressions really do matter. A beautiful concrete stain floor is a great first impression. It shows you care about even the foundational details most others may take for granted. Concrete stains are among the most effective and permanent ways to add rich, unique color to a surface, making a great first impression.
This guide will walk you through the types of stains and the modern professional process for applying them, ensuring you achieve a beautiful, long-lasting finish for your floors, patio, or driveway.
Why Choose Stained Concrete?
Historically, concrete has been seen as a purely practical material. However, today, homeowners and businesses are increasingly choosing concrete stain floors for both indoor and outdoor spaces due to their durability, style, and cost-effectiveness, especially for DIY enthusiasts.
Staining Benefits
Concrete floors are often already present in many spaces, with concrete stain installations requiring only the removal of existing coverings. Beyond their visual appeal, decorative concrete floors offer several benefits:
-
Hypoallergenic: They do not collect dust, pet dander, or harbor mold.
-
Durability: Concrete flooring is a preferred choice for all ages due to its resilience. Surfaces are not prone to scratches, are resistant to damage, and can withstand high levels of foot traffic.
-
Longevity: When properly sealed and maintained, these attractive surfaces can last for an extended time.
- DIY-Friendly: With a simple process, you can stain plain surfaces without the need for fancy equipment or heavy-duty tooling. Though be warned, beyond simple stains, you may need better equipment.
- Cost: The costs of DIY concrete staining range from $0.30 to $0.40 per square foot.
Types of Decorative Concrete Stains
There are two primary types of concrete stain, each offering a distinct aesthetic and application method. As a contractor, you should be prepared to apply any stain your clients request, or even better, to know when to choose between methods to achieve the best result for your clients.
First, you should know what the aim of a concrete stain is: to change the color and appearance of a concrete substrate fundamentally. This can be done to achieve a wide variety of looks. There are two accepted methods of staining concrete you need to know:
Acid-Based Stains
These acid-based stains create a permanent, translucent color through a chemical reaction with the concrete's lime content. The result is a variegated, marbled appearance reminiscent of natural stone, typically in a range of earthy tones. The outcome is unique to each slab, making every project one-of-a-kind.
Acid-based concrete stains are what they say they are, acid-based. That means maintaining strict safety standards on your job site! Keep some of these rules in mind:
-
Ventilation: Whether it's the sealer or the acid, you'll want to be aware of how well-ventilated your space is to protect against VOCs or respiratory hazards.
-
PPE: Skin exposure is one of the most common dangers of working with acid-based solutions of any kind. Glasses, gloves, masks, and proper job site attire are handy, low-cost investments that could save your skin, literally.
-
Chemical Hazards: Research OSHA regulations on working with chemical solutions, and consult your stain's Safety Data Sheet (SDS) to gain a better understanding of the risks.
- Patience & Procedure: As with most solutions, the best defense against hazards is patient and thorough commitment to best practices. Follow the installation procedures for your materials closely.
Note on Acid Stains
While acid staining is often preferred for its long-lasting and aesthetic properties, its unpredictable nature is a downside. Chemical reactions penetrate deep into concrete to generate vibrant colors, but the final color can be affected by the concrete's color composition, age, the type of acid stain, and the amount used.
The outcome may not always be what is expected, and once applied, acid stains are practically impossible to erase or undo. The only way to alter or intensify the decorative effect is to add more acid stains.
Water-Based Stains
Water-based stains use pigments and polymers to deposit color into the concrete's pores, offering a broader and more vibrant color palette than acid stains. They provide a more predictable and uniform result while still allowing for translucent effects.
Water-based concrete stains are generally easier and safer to apply, as they do not require a chemical neutralization step. They're also a good option for DIYers as they are less prone to unpredictable results compared to acid stains. However, some concrete stain designs can only be adequately achieved with acid-based stains.

How to Apply Decorative Concrete Stains
Application Tools and Staining Materials
From start to finish, a premium collection of decorative concrete products is essential for achieving the most successful refinishing applications. You'll need safety tools, such as your product's documentation (SDS, TDS) and PPE. Never forget application tools such as pump sprayers, brushes, painter's tape, and more, too.
In some cases, you'll need more advanced tooling, like a grinder or a buffer and its corresponding vacuum and dust collection tooling in accordance with HEPA and OSHA standards. And, of course, you will need a concrete stain and concrete sealer.
Step 1: Surface Preparation
This is the most critical step. The concrete must be utterly clean, contaminant-free, and porous enough to accept the stain. Preparation is first and foremost when achieving optimal decorative concrete finishes. Your project here is to make your concrete beautiful, whether that's preparation or repairing any imperfections.
Use a cleaner formulated for concrete, like Kemiko Neutra Clean, or combine water with a cleaning solution to efficiently scrub the substrate. Remove debris from the area, and broom thoroughly. Your space must be free of any obstructions for the best results.
Additional Preparation Tips:
- A freshly poured concrete surface should be at least four weeks old before being treated.
- Old concrete surfaces can be cleaned using a pressure washer.
- Avoid using muriatic acid for cleaning; it removes minerals and creates darker colors and splotches.
- Sand uneven concrete slabs to ensure evenly stained concrete floors.
Step 2: Test Colors Before Application
Always perform a test on an inconspicuous area or, ideally, on a separate sample slab. This is highly recommended simply because nothing is more deceiving than digital color cards and printed color charts.
For the most accurate results, be sure you test the color you have selected. If the color is close to the desired result, you may only need to dilute or adjust the ratio of your solution. But if the color is not what you expected, you may have to find another solution.
Step 3: Apply the Concrete Stain
Now that you have fully prepared your concrete surface, you can begin applying your concrete stain. Even coverage is the ultimate goal here. This is why many installers opt to use handheld pump sprayers, which are made of durable materials so they won't corrode after coming into contact with certain acids that may be in concrete stains.
While staining concrete, keep the following tips in mind:
- Consider applying concrete acid stains with a specialized sprayer for the most optimal results.
- For smaller areas, apply the stain with a concrete stain applicator brush, paint roller, or regular paintbrush.
- By overlapping your spray patterns, you can maintain a wet edge.
- If necessary, use a wet+dry HEPA vacuum to remove excess liquid and debris.
- If you choose to incorporate a sprayer to apply the stain, be sure you follow that step with a shop broom to ensure the sprayed areas do not appear significantly darker or lighter than the others.
- You may need to spray again over any areas that left broom marks.
Some of these tips may not be useful if you're working around a stencil. You'll still want to aim for even coverage, but your method of application may differ.
Step 4: Allow Full Drying Time
Depending on the decorative concrete stain you choose, the overall drying time may vary significantly. The same goes for your concrete sealer later on! Consult your product's manufacturer's guide, SDS and TDS to find out what your solution needs to dry for best results.
Step 5: Neutralize (for acid stains only)
After an acid-based stain has reacted, you must neutralize the residue. Create a solution with water and a neutralizing agent. Kemiko Neutra Clean is specifically formulated for this task, effectively neutralizing the acid residue while cleaning the surface. Rinse thoroughly afterwards.
Step 6: Seal the Concrete
Sealing is non-negotiable. It protects the stained concrete from wear, chemicals, and UV damage while dramatically enhancing the color depth.
Use a high-performance sealer, such as Kemiko Stone Tone Sealer II. Apply it evenly with a roller or a large squeegee. For the most professional results on interior concrete surfaces, use a floor buffing machine to facilitate sealing.
Allow the sealer to cure fully before subjecting it to traffic. Skipping the sealant leaves your investment vulnerable to staining, fading, and wear, significantly shortening the lifespan of your beautiful concrete stain finish.
Conclusion
A professionally applied concrete stain can utterly transform a space, adding value and character that lasts for years. Follow these step-by-step instructions when staining old and new concrete floors to ensure you achieve the desired look and feel of stained concrete floors!
Concrete materials or DIY resin resources, EpoxyETC is there for you! (954) 287-3797 today! Our EpoxyETC online store is your central hub for DIY epoxy resin project resources.


