How To Craft A Metallic Epoxy Floor (2021)
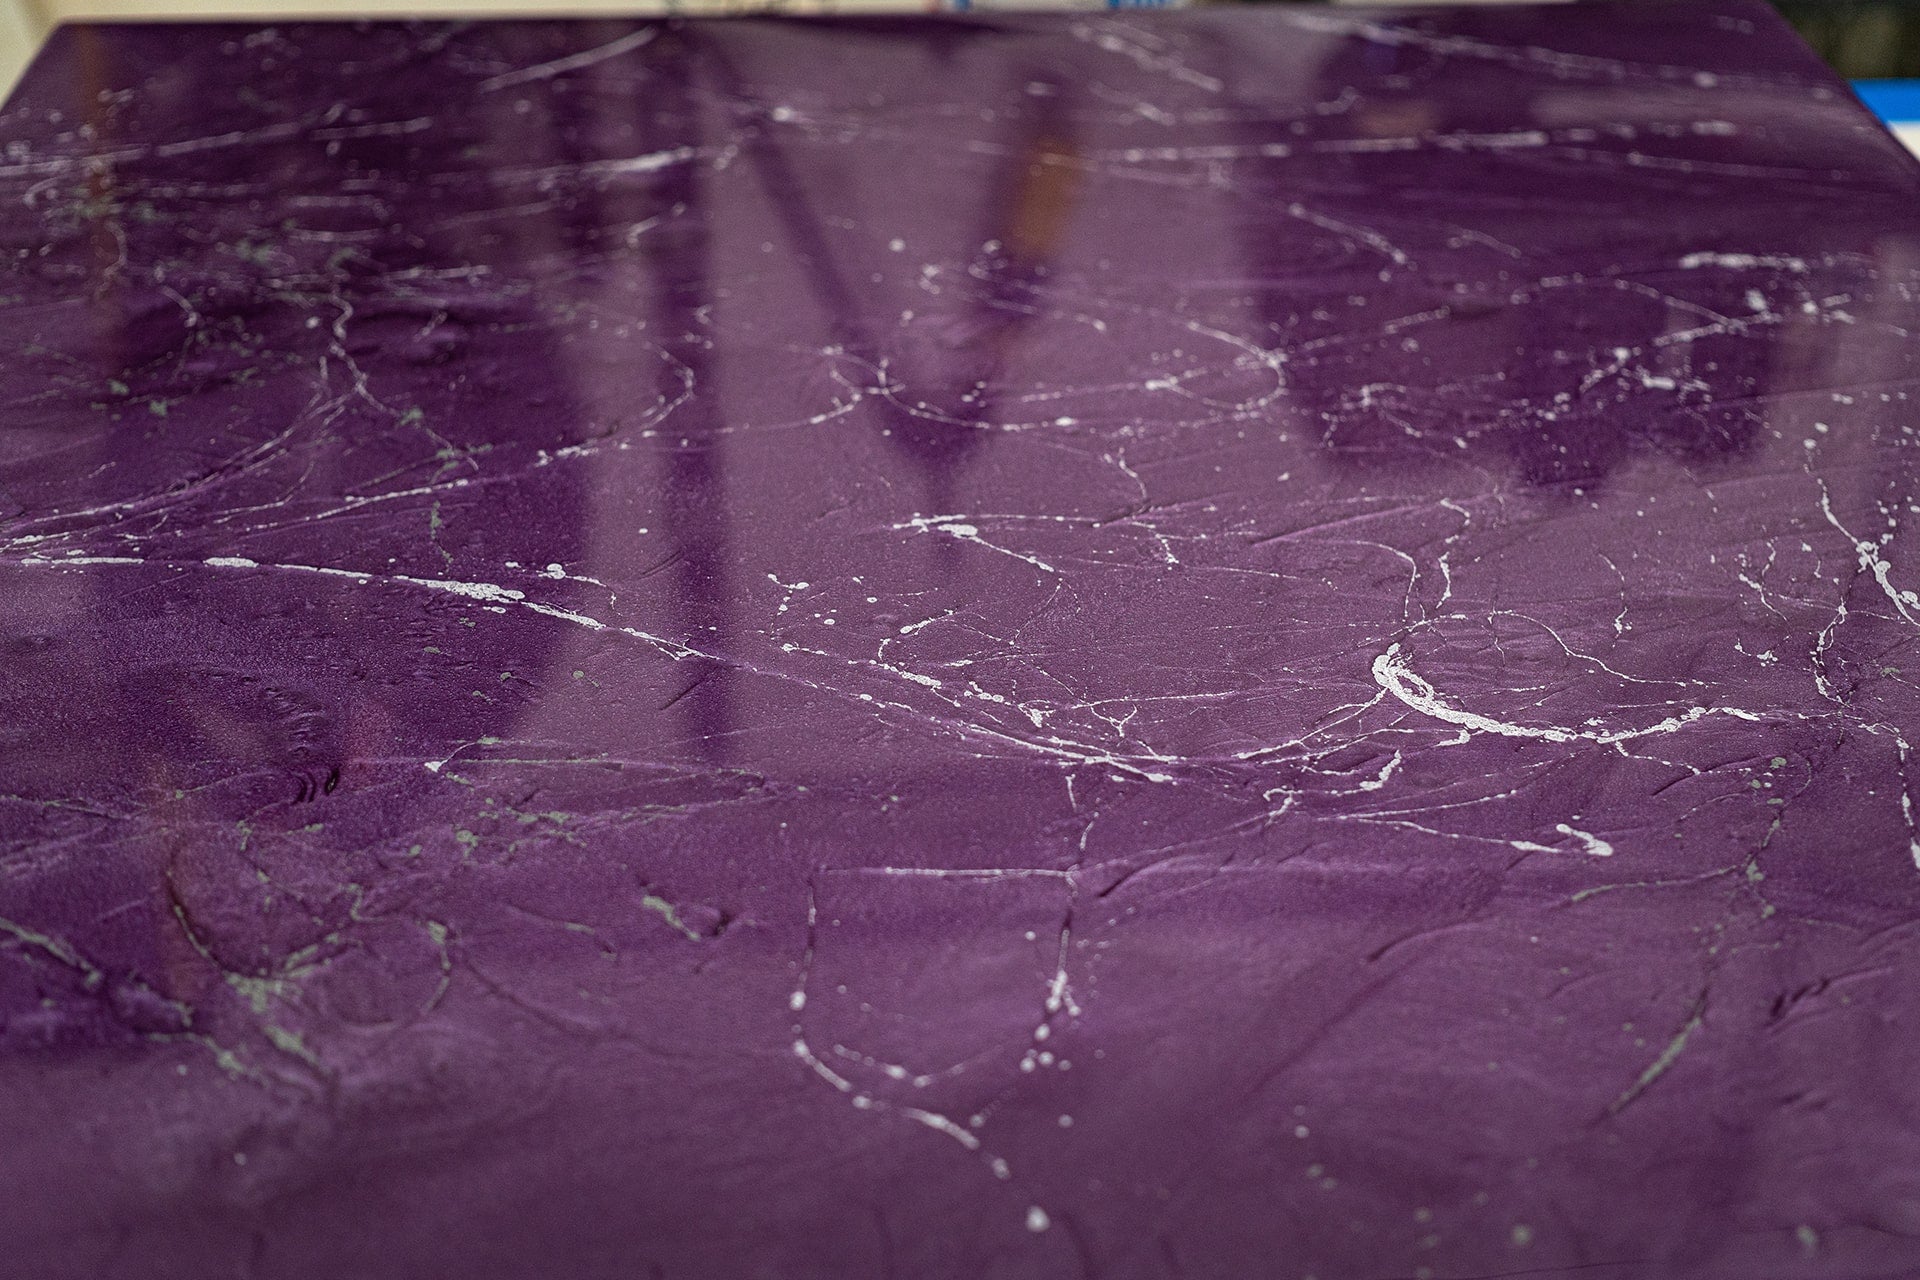
Unlike other, more simple epoxy solutions, metallic floors are tricky to install. They require more technical skill and creative vision than traditional flake or solid color epoxy.
Although these floors are tricky to install for beginning installers and DIYers, this guide will lay out all of the industry leading tips and tricks to installing these types of floors perfectly.
One of the best and most important tips that we can give to anyone who is wanting to craft a metallic epoxy floor is to order a metallic kit, get a plywood board from a construction store, and begin testing. This will allow you to gain experience applying a metallic surface and if you mess up, it won’t be detrimental to your surface.
This article will attempt to demystify the art of applying metallic epoxy surfaces, but you can ask 12 different contractors and they will each give 12 different answers on the proper way to apply these kinds of surfaces. These floors are most definitely more of an art than a stone cold scientific process.
Step 1: Prepare Tools and Materials
When it comes to getting tools and materials ready to apply your metallic floor, things can get confusing quickly. The biggest obstacles that you have to get through during this first step is surface preparation and the mixing of the epoxy. The big must-haves for anyone, both professionals and DIYers, are a grinding machine/hand grinder, a large roller and squeegee, and 100% solids epoxy. Without these things, crafting a metallic surface will not be possible.
When it comes to surface preparation, we have an incredibly in depth article that details everything you need to know regarding this vital step. You can read that here. But to make a long topic short, opting out of doing proper surface preparation is just setting yourself up for failure. If you would rather skip out on the surface prep, you are better off going with a concrete paint and calling it a day because metallic epoxy, or any epoxy for that matter, will not fully bond to the surface unless it is fully ground and porous.
For a full list of materials needed to craft these beautiful surfaces, check the end of this article and everything will be listed for you.
Step 2: Choosing Your Colors
Now that you have all of your materials and the floor has been fully grinded, it is time to choose which colors you want to include in your floor. In theory, you can have an unlimited amount of colors featured in your floor. In actual practice, most floors have 2 or 3, with some special floors maxing out at 5. We recommend staying between two and three colors because adding more will make the floor look, quite frankly, a total mess. Stick to 2 or 3 colors and you will have a perfect looking floor.
Step 3: Concrete Moisture Barrier (If Necessary)
When it comes to applying any coating on a concrete surface, it is highly recommended, in areas where moisture would be considered a problem, to apply a pigmented moisture/vapor barrier. Since epoxy flooring is not breathable by nature, any moisture that gets beneath the surface of the epoxy will only cause it to bubble and peel.
Like all products, there are different variations and formulations of moisture barriers based on how many pounds of hydrostatic pressure they can withstand. Most barriers are within the eight to ten pound range, while some advertise that they can withstand over 25 pounds of pressure.
Before applying the moisture barrier, it is imperative that you follow the mixing ratios that are set by the manufacturer. Once the two parts are thoroughly mixed, immediately pour the mix onto the surface in thin, continuous ribbons. Be careful not to pour too much on the surface at once because epoxy begins to set very quickly and so you want to be sure that you have appropriate time to spread each ribbon.
Pro Tip: Be sure to wear spiked shoes during epoxy applications to avoid marks in the surface
Step 4: Clean The Surface
After the moisture barrier has dried and cured fully, it is imperative that you thoroughly clean the surface before you apply the epoxy coating on top of it. If there are any dirt particles on the surface at the time of installation, the epoxy will fail to bind properly and cause the system to fail miserably.
Step 5: Epoxy Installation
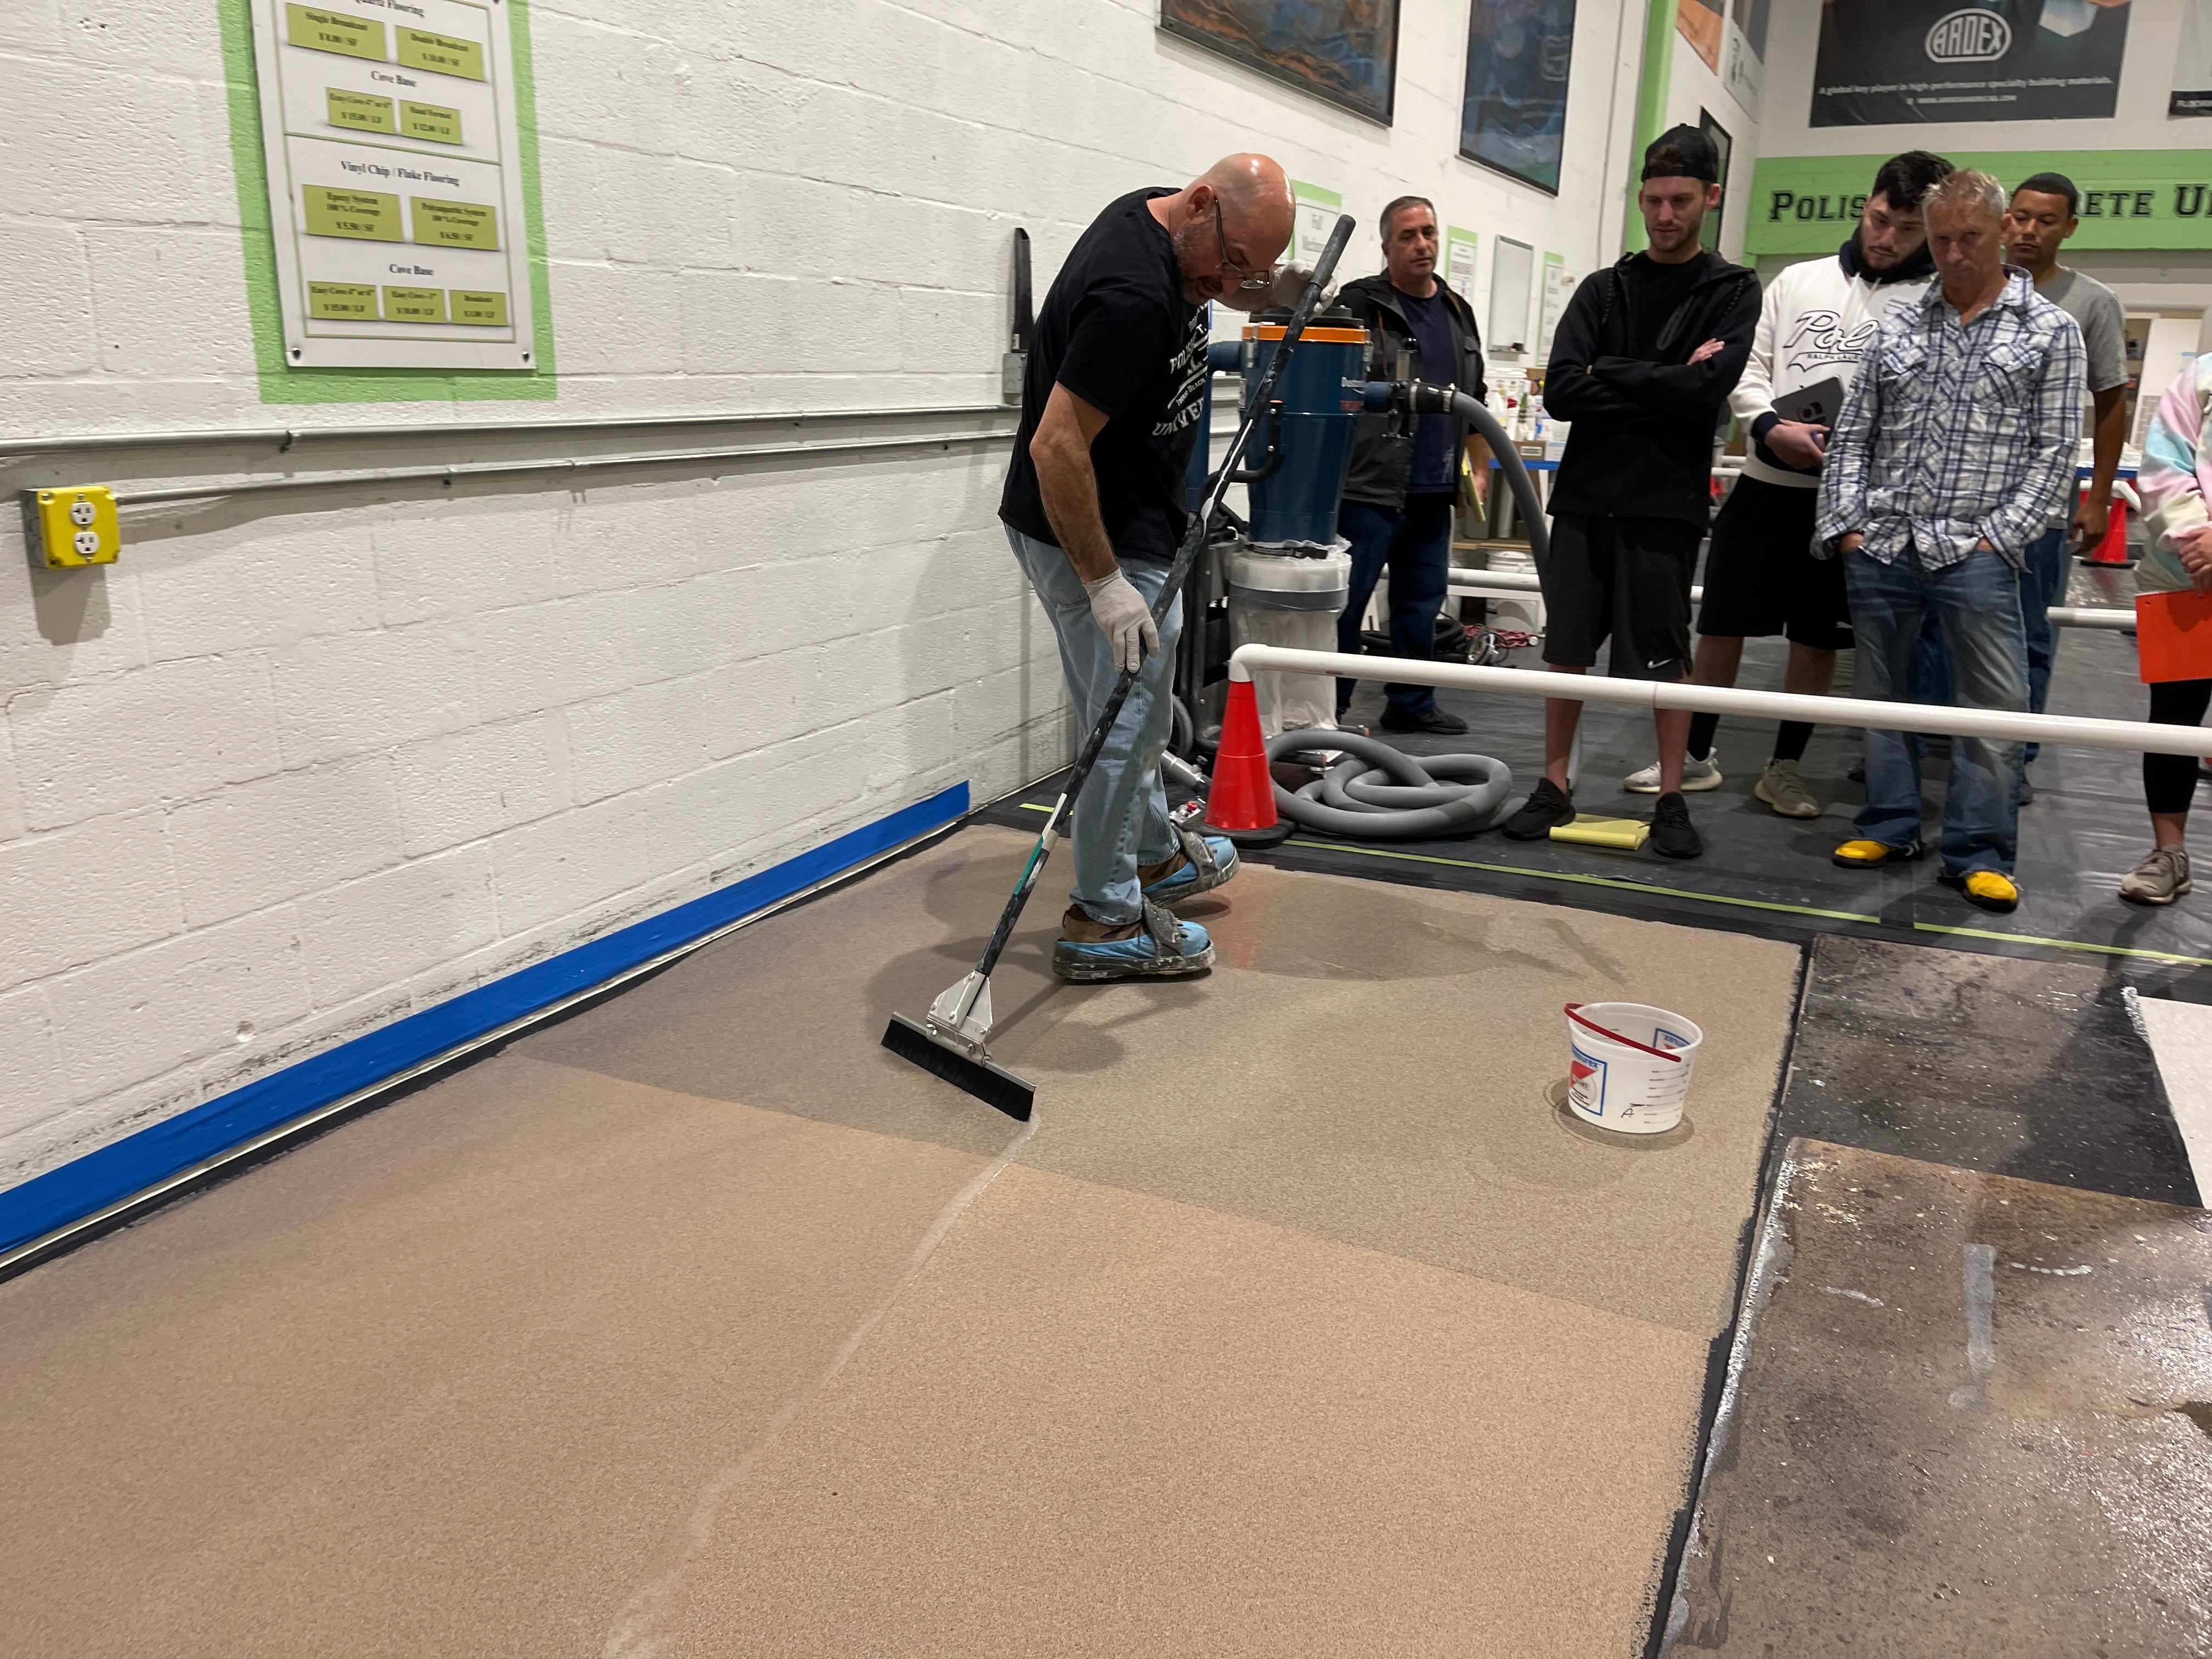
Now that you have a moisture barrier installed, the surface cleaned, and the metallic epoxy mixed, it is time to apply the coating. Begin by pouring the coating in continuous ribbons on top of the moisture barrier. When you are applying it, you do not want to pour the epoxy straight on the dry surface. Make sure that your ribbons overlap.
Using a squeegee or a foam roller, push the epoxy in swirling motions to simulate a floor that moves. This application motion is what gives metallic epoxy the special look over solid color epoxy. Pushing the epoxy in a straight line and then backrolling it would only leave for a solid looking surface. This process does not involve backrolling and so this will allow for the surface to move freely and create a stunning result.
Step 6: Optional Protective Top Coat
After the metallic epoxy surface has been applied and dried successfully, it is possible to be done here. The floor will last 20+ years as is. If you want additional protection, you can add a clear topcoat onto the surface. This is truly an optional step, yet it will only increase the life of your floor by years!
If you do decide to apply a topcoat, follow the manufacturer's instructions on mixing ratios. The application process is the same as any standard epoxy floor. Pour the mixed product in continuous ribbons and then spread evenly and backroll to a smooth finish.
Conclusion
In all, metallic epoxy floors are the flooring solutions of the future. They transform any boring space into a work of art that will start conversations for years to come. If you have any additional questions regarding epoxy flooring, how to install, or what products are needed, feel free to contact any of our epoxy specialists at (954)-799-6359.


