Epoxy Countertops: An Affordable and Attractive Kitchen Upgrade
Cook Safely and Elevate Your Kitchen’s Style!
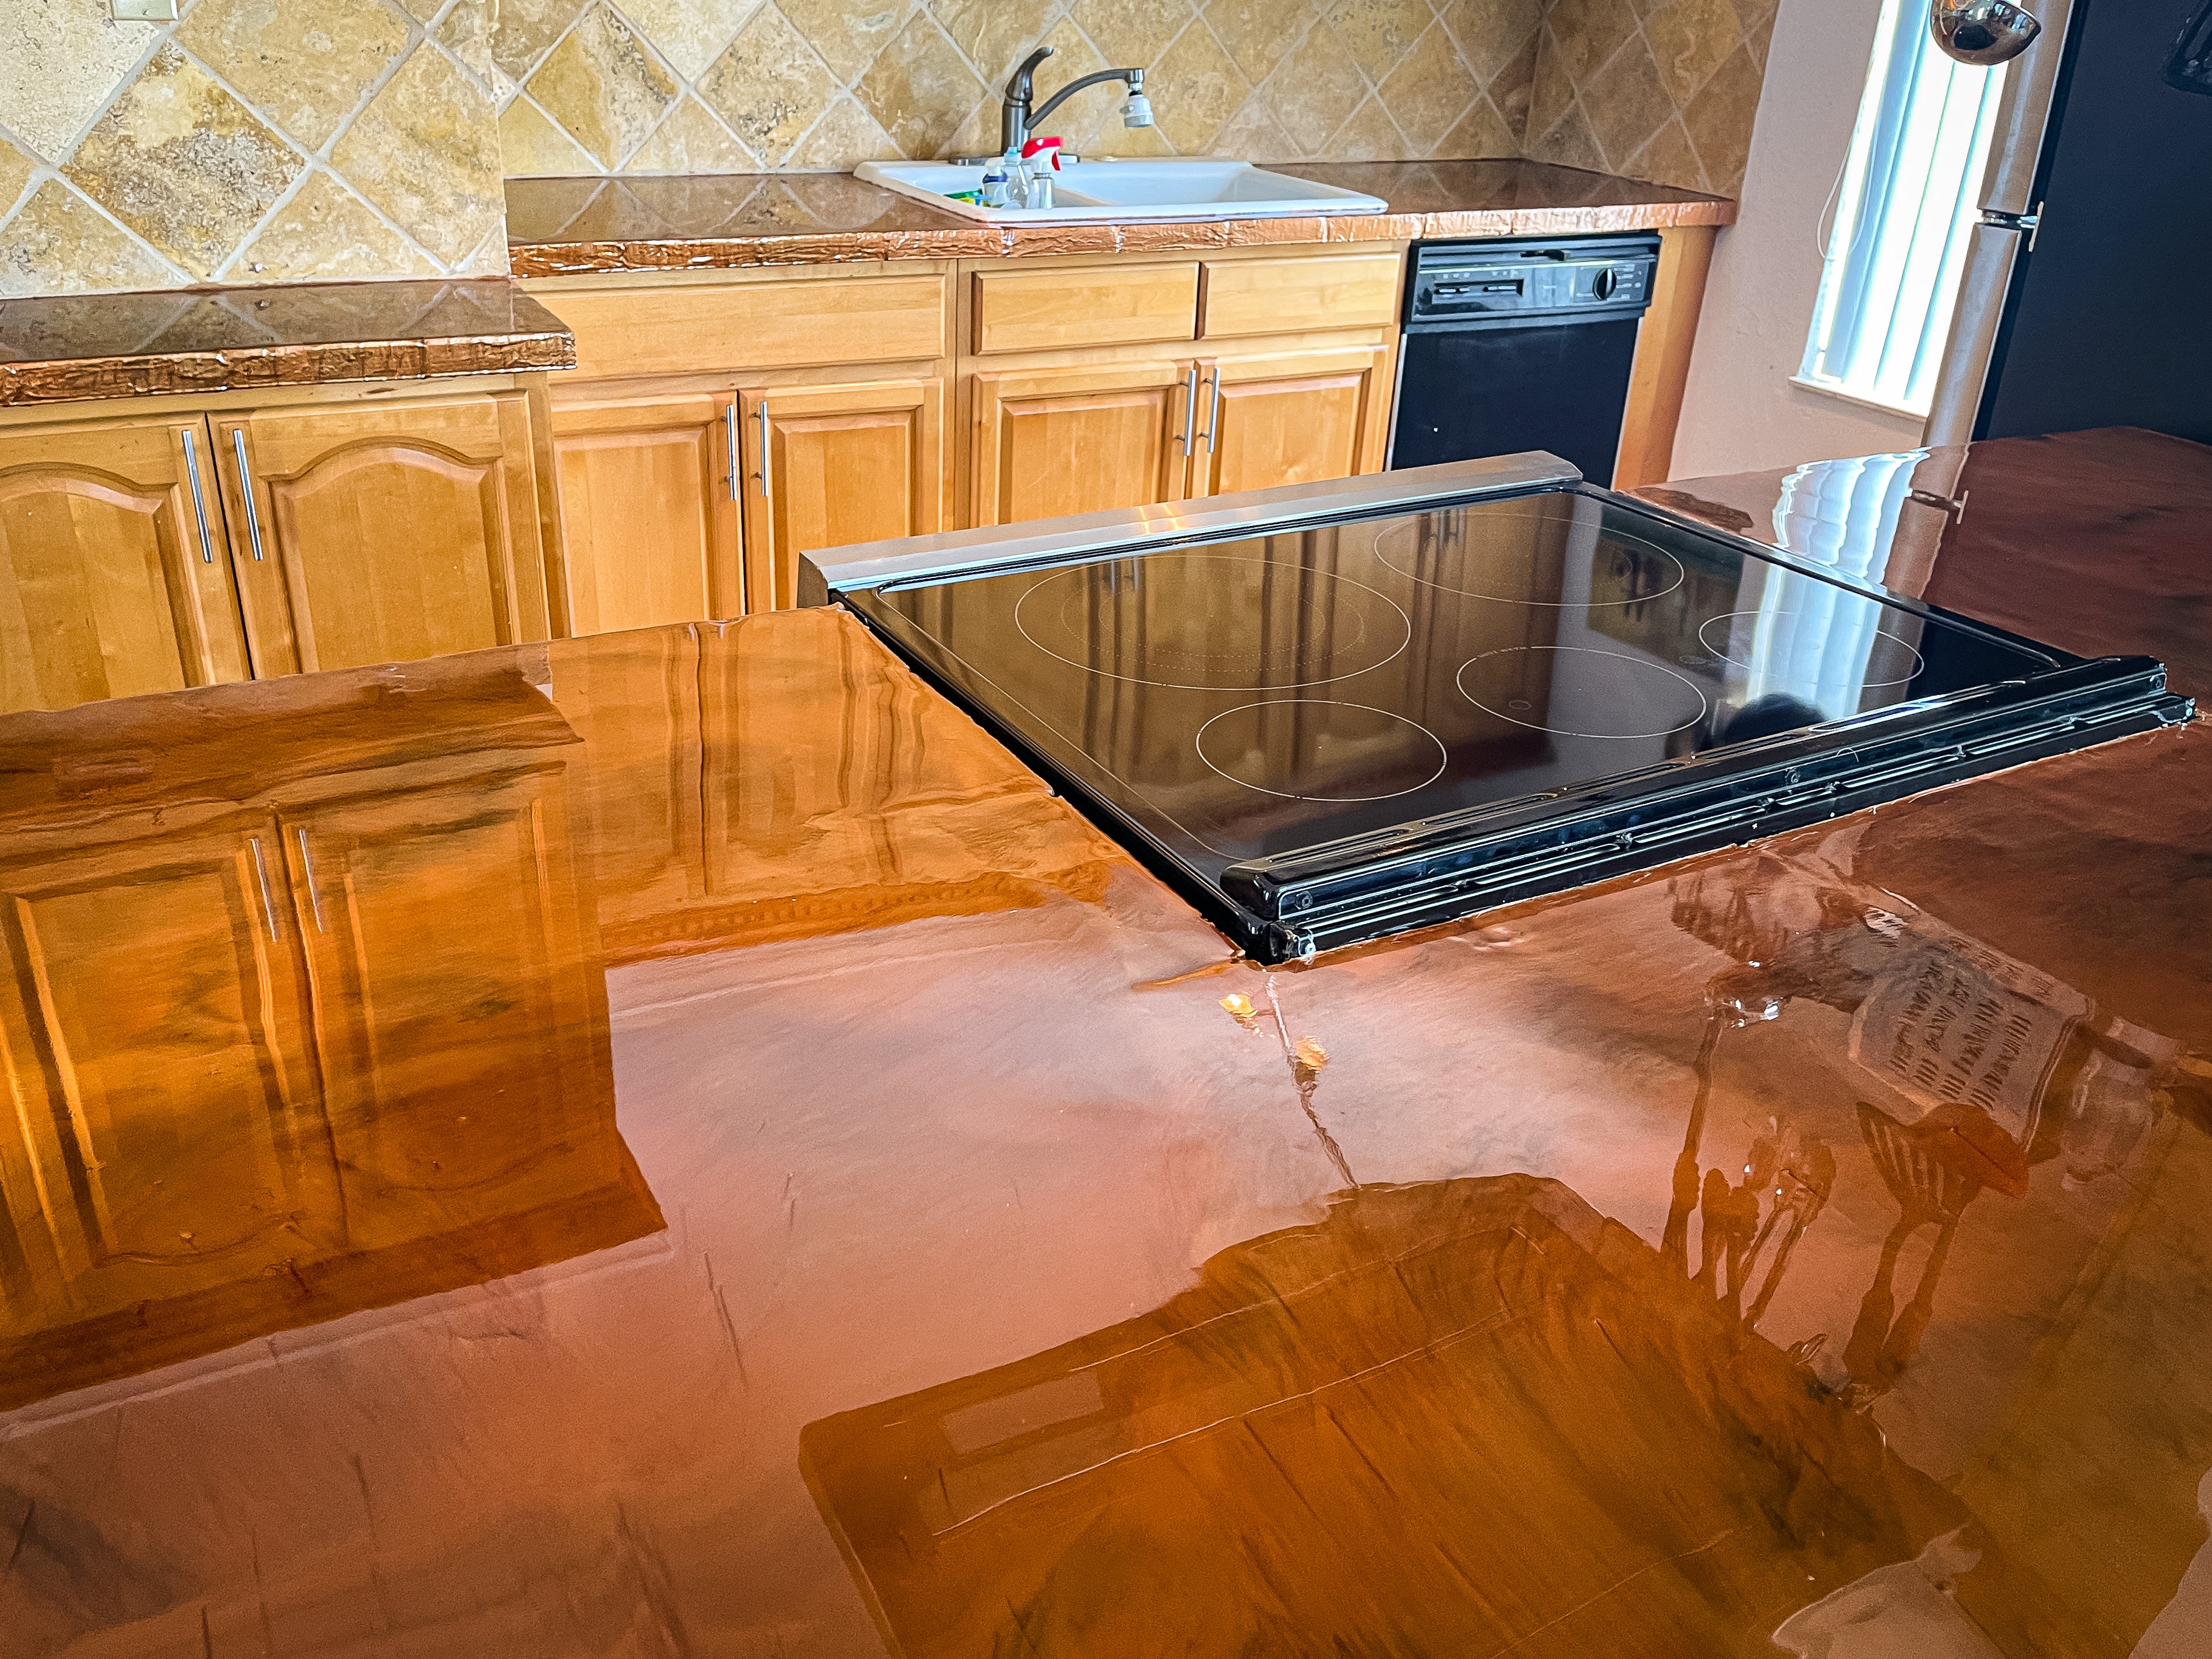
Homeowners around the world consider stone countertops the be all and end all of countertop finishes. But the times are changing! Stone countertops, as beautiful as they can be, are often expensive, hard to install and hard to take care of. Epoxy countertops are the perfect way to get that stone countertop beauty at a great price, and with much less stress!
This article will help you learn why epoxy countertops are making waves as a stone alternative, and how to install them for potential clients!
Clients, Contractors & Countertops: Why the Hype?
Epoxy resin is a beautiful thing. It's perfect for anything from small DIY trinkets & projects for the biggest & most destructive industrial settings. Its chemical components, especially when you get the best from EpoxyETC, are specifically designed to handle heavy loads.
If you know epoxy resin, you know exactly why epoxy countertops are taking off!
Rising Popularity of Epoxy Countertops
Anyone with stone countertops could tell you they're expensive, and they're hard to maintain. Contractors will tell you they're a pain to install. But epoxy? Epoxy is strong, versatile, aesthetically appealing, and affordable! They're a perfect alternative to stone, especially since you can mimic the look of stone at a fraction of the cost!
And that's just for your clients - as an epoxy resin contractor, whether you do floors or countertops, you know how lucrative it can be. Countertops are no exception. They're easier to install, and the initial investment is much lower than stone. And that's without sacrificing any of the quality you expect from a stone finish!
Epoxy Countertops 101: What You Should Know
Essential Tools and Materials for Your Epoxy Countertop Project
So, you're a contractor working on your first epoxy resin countertop job. Or maybe you're an ambitious DIY enthusiast! Either way, here's a list of what you might need on the job:
Tools:
- Safety Equipment: Safety goggles, gloves, and a dust mask at the minimum.
- Mixing Supplies: High-quality buckets capable of holding mixed epoxy resin, and a mixing tool.
- Heat Gun: For mitigating bubbles during cure.
- Sanding Gear: For a countertop job, you'll just need an angle grinder.
- Applicators: Paintbrushes, squeegees, rollers, you have some options.
- Countertop Molds: If you want a specific molding design for your countertops.
Materials:
- Epoxy Resin: We offer a high-quality epoxy resin kit specifically designed for countertops.
- Color Additives: If you're feeling bold or want a specific design, try some colors!
- Safety Data Sheets (SDS): Don't forget your SDS documents for the epoxy products you're using. These provide essential safety and handling guidelines.
- Reference Materials: Keep guides, manuals, or reference materials provided by the epoxy manufacturer for product-specific instructions close at hand.
And with all that gathered, you're about ready to start laying down the epoxy resin!

A Step-by-Step Guide to Epoxy Countertop Installation
Step 1: Surface Preparation
A successful epoxy countertop installation hinges on thorough surface preparation. This entails cleaning, sanding, and ensuring that the surface is entirely free of dust and debris. Exemplary preparation is essential since any imperfections on the base surface will be magnified once the epoxy is applied.
Step 2: Edge Molds
These are fully optional and up to your design vision, but they're very easy to install and add a cool detail to your countertop finish! Just use some adhesive or screws to put them in place before your epoxy installation.
Step 3: Epoxy Resin Installation
Before the resin starts to cure, if you or your client want any creative patterns or colors, you'll need to begin to install that here! Add any variety of pigments, dyes, inlaid decorations, anything. From swirls, to marbled patterns, to solid color, the world is your oyster!
Step 4: Seal the Epoxy & Let it Cure
Apply your final topcoat of epoxy, hunt down any bubbles that pop up with a heat gun, and hands off! Your epoxy resin needs to cure now, so check the manufacturer's instructions for your resin. It should tell you exactly how long you'll need to wait for it to cure fully.
If you want to be extra careful, wait (or tell your client to wait) an extra few hours after the recommended time to use the counter again. It's a small sacrifice for perfection!
Step 5: Final Touches
After the epoxy resin's cured fully, remove the edge forms, sand down any rough or uneven parts, and polish to your preferred finish. And just like that, your epoxy countertop is done!
Conclusion
Epoxy is a beautifully versatile resource. Resin is capable of strength, beauty, and affordability all at once! Next time you're thinking of renovating your home, consider epoxy resin. And it's great for contractors, too! With less resin than a traditional flooring project, you can give clients beautiful results with little initial investment.
For anything to do with epoxy resin flooring, lean on EpoxyETC. Whether it's our high quality resources or our phone support, we're always ready to assist at (954) 228-8856. For all things epoxy & concrete flooring, check out the EpoxyETC online store!


