Garage Floor Epoxy Flakes: The Best Solution for Your Garage
Home renovations can be a massive pain - not just in labor, but in your wallet, too. When it comes to garage flooring renovations, though, they don't have to be! Vinyl flake epoxy resin systems have taken the nation by storm.
These systems are built to last and perfectly designed for garages. Our team here at EpoxyETC has years of collective experience advising and installing epoxy resin floors, so learn from the pros with this guide!
Garage Floor Vinyl Flake Epoxy Resin Systems & You
Garage floor epoxy costs can vary significantly, and careful planning is essential to ensure that you make an informed decision that aligns with your budget and needs. On average, the cost of professional installation ranges from $5.50 to $14 per square foot, depending on the chosen system of either quartz or flake. If you're considering a do-it-yourself (DIY) approach, you can expect to spend between $1.50 to $5 per square foot for materials. Costs may also differ depending on your area.
Don't gamble on temporary solutions! If you are looking for a budget-friendly yet high-quality option, consider EpoxyETC's 3-Gallon Kit, which offers commercial-grade protection for around $2.50 to $4 per square foot.
This kit covers an impressive area of 300-450 square feet, and its UV-stable clarity ensures that your floor maintains its aesthetic appeal over time. Industry analysis underscores the notion that investing in premium garage floor epoxy can yield returns through fewer recoats and enhanced durability, making it a wise choice for property owners.
Pros
-
Durability: One of the standout features of epoxy flooring is its remarkable durability. It is designed to withstand the rigors of daily use, resisting oil stains, chemical spills, heavy impacts, and tire marks that typically mar and damage bare concrete surfaces.
-
Easy care: Maintaining a garage floor coated with epoxy is straightforward. Regular sweeping and occasional mopping are all that is needed to keep it looking pristine and shiny for years to come.
-
Custom beauty: With options for decorative flakes, you can create a unique and stylish finish that not only enhances safety with slip resistance but also adds a designer touch to your garage space.
- Value boost: Installing a high-quality epoxy floor can instantly elevate the overall appeal of your property, making it more attractive to potential buyers and increasing its market value.
Cons
-
Slippery surfaces: While epoxy floors can be slippery when wet, this can easily be mitigated by adding grip-enhancing materials to the topcoat, ensuring safety for everyone using the space. Vinyl flake, for example, is a perfect traction additive for epoxy flooring.
-
Fume management: Choosing low-VOC (volatile organic compounds) options, such as those offered by us here at EpoxyETC, can help minimize unpleasant odors during the application process, making it safer for indoor use. It's also important to keep proper air flow protocols in mind during work.
-
Moisture risks: Addressing moisture issues prior to installation is vital. Conducting moisture tests with a plastic sheet and moisture meters can prevent potential bubbling and peeling of the epoxy.
- Skill gaps: For those unfamiliar with epoxy application, complex pours can pose challenges. Seeking professional training or hiring a skilled contractor can ensure a successful installation and long-lasting results. Luckily, garage epoxy floor coatings are high in demand and incredibly easy to achieve compared to alternatives.
Product Showdown: EpoxyETC Excellence
Installation: Professional-Grade Execution
Weekend DIY warrior or starting-out contractor, get the information you need to succeed with this guide. To gain the knowledge you need to build a business, sign up for our 5-day flooring certification course, Epoxy Classes! Epoxy resin is famously lenient and DIY-friendly.
Even if you opt to go your own way and forego formal epoxy resin installation training, you'll be fine if you practice patience and precision. As long as you follow this guide properly, you'll be ready for a transformed garage floor that'll last you for years to come.
Step 1: Surface Preparation for Epoxy Resin Installation
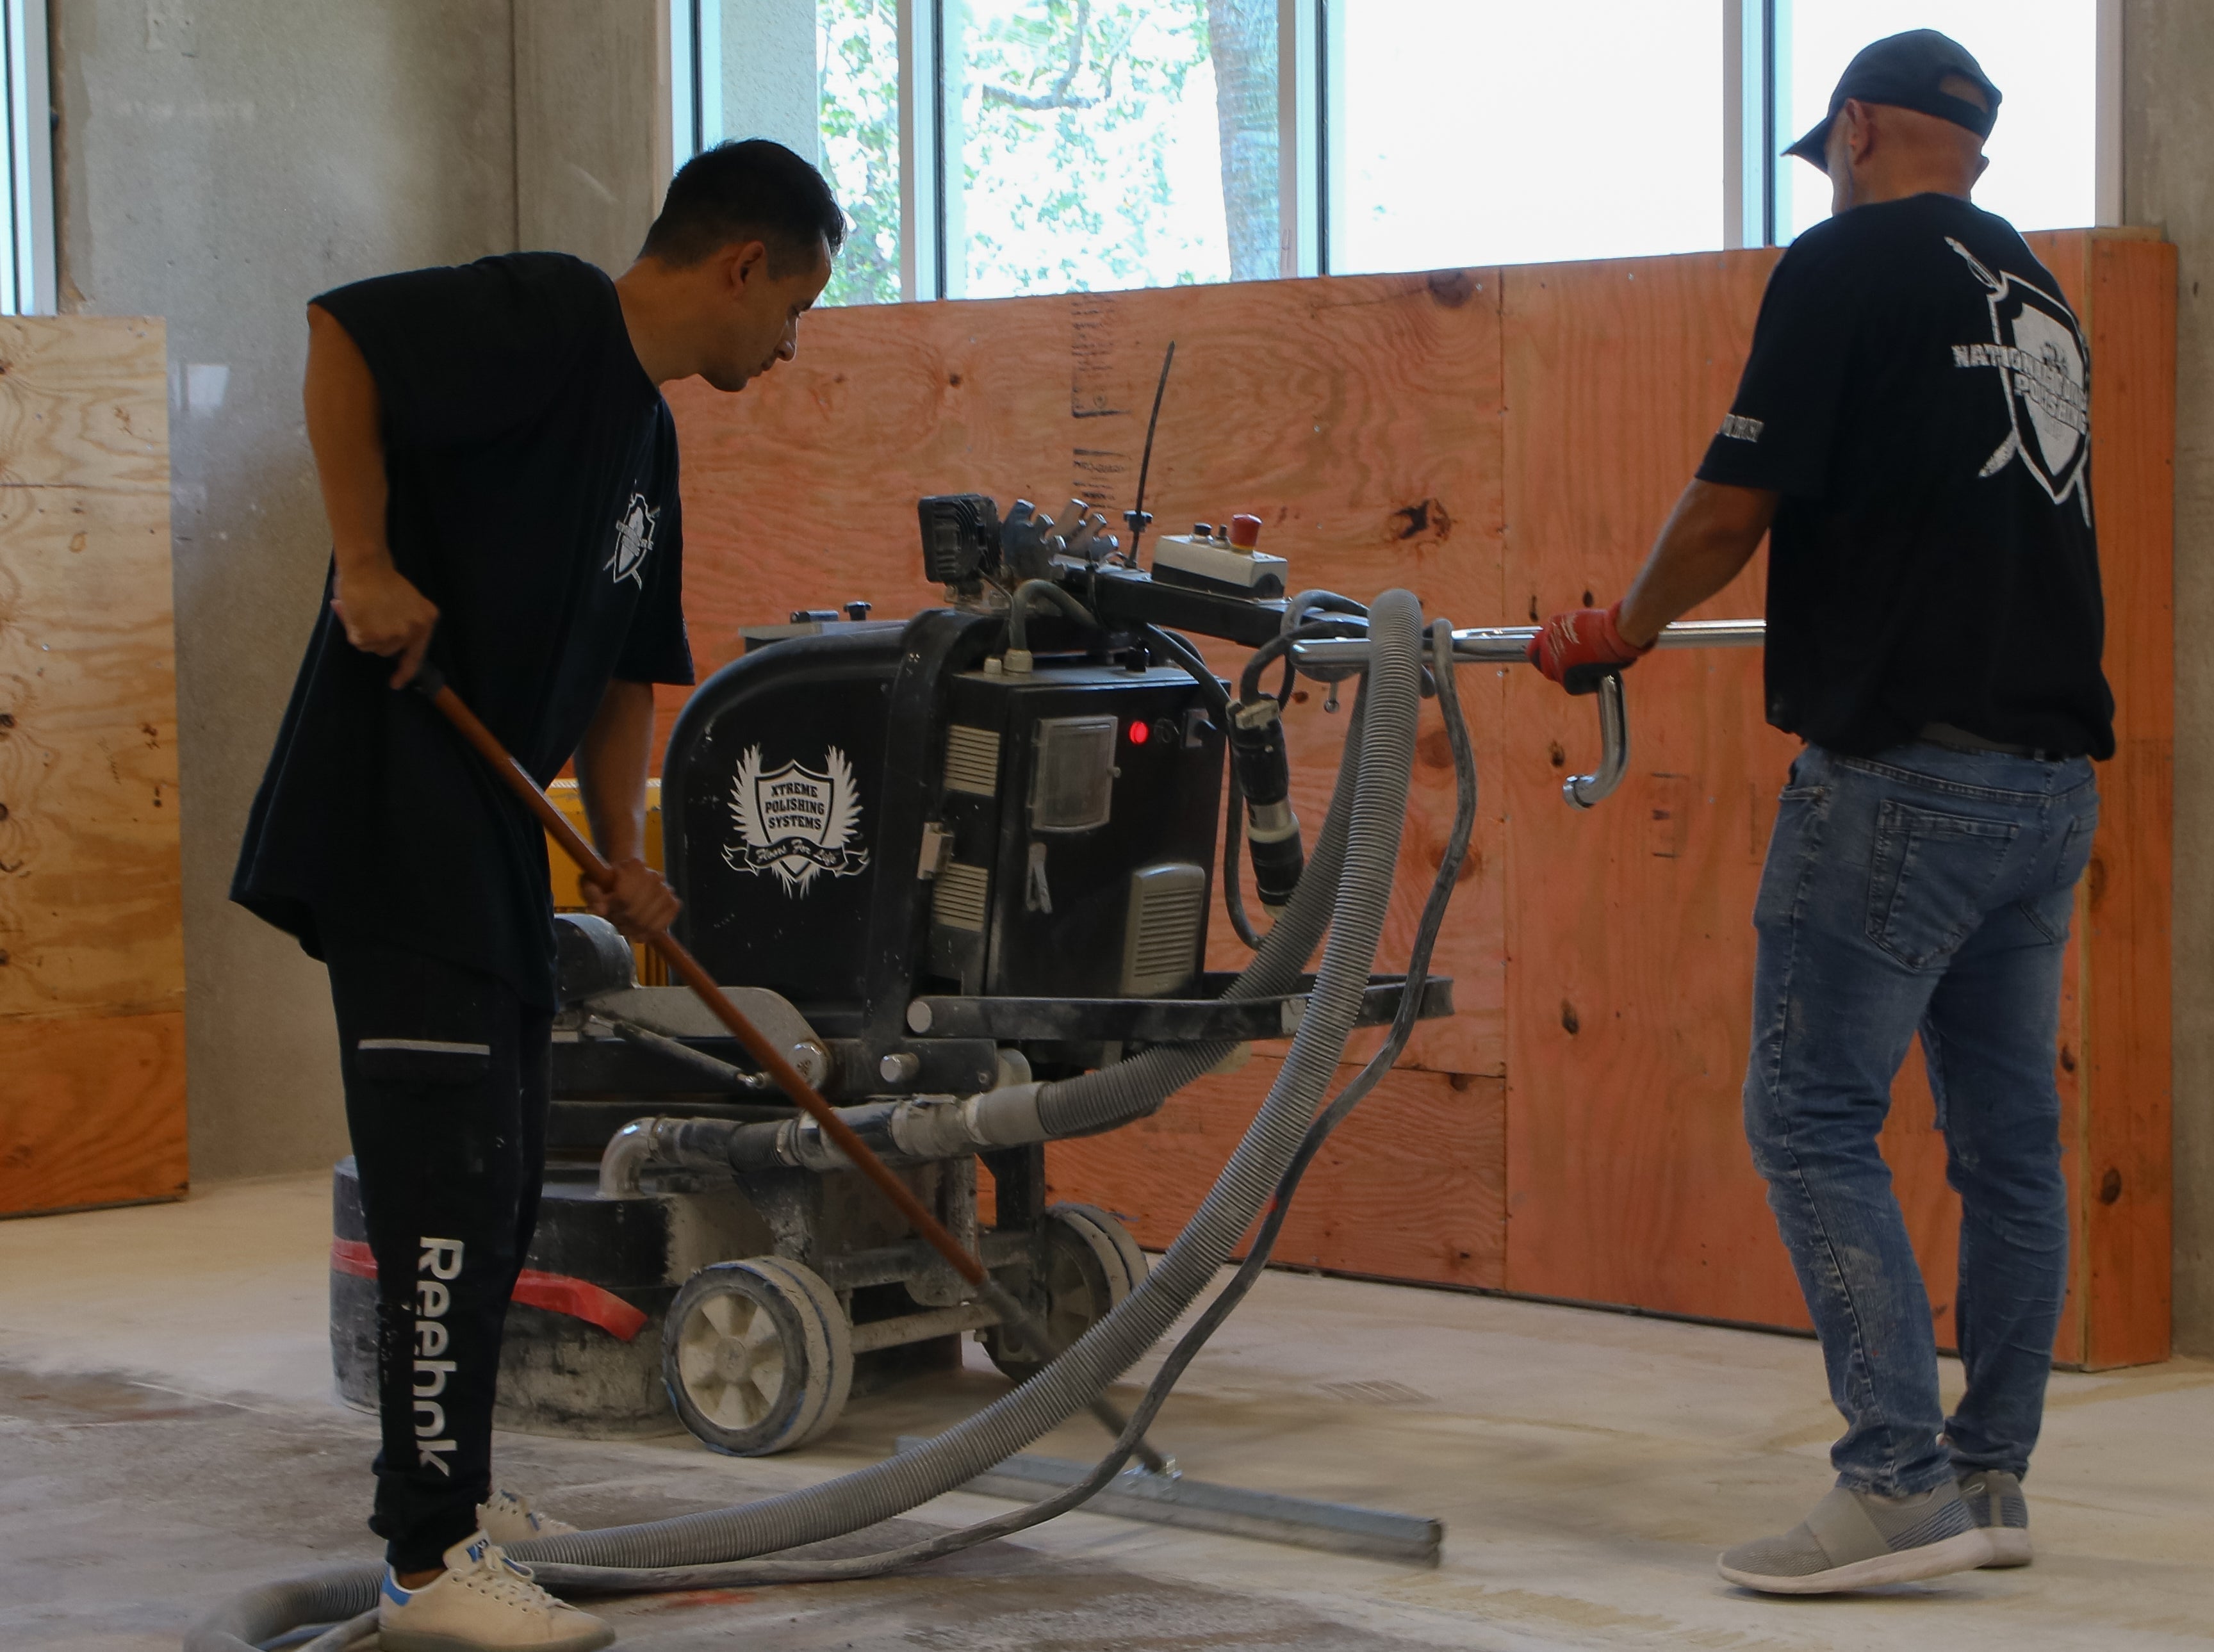
Proper installation of garage floor epoxy begins with meticulous surface preparation. It's crucial to ensure that the concrete is free from any existing coatings, dirt, and grease. We highly recommend using cleaning solutions specifically designed for concrete if your substrate is beyond a simple vacuum. And if your problem is beyond either of those, you may need to rent a floor grinder.
Make sure your solution completely dries before moving on! You'll need a dry floor, period. Moisture testing and mitigation are an essential part of any surface preparation. Whether you opt for invasive or non-invasive methods, make sure you're getting accurate results! Otherwise, clear your space of dust and debris, and vacuum thoroughly.
Step 2: Priming with Moisture Vapor Barriers (Moisture Zones)
In areas where moisture is a concern, such as damp garages or basements, applying moisture-blocking vapor barriers is essential. These vapor barriers prevent moisture from seeping through and compromising the integrity of the epoxy.
It’s important to pour these solutions in thin, even coats and to pay attention to the finish. Glossy finishes indicate proper sealing, while matte spots suggest absorption issues that may require reapplication.
Step 3: Base Coat Application of Epoxy Resin
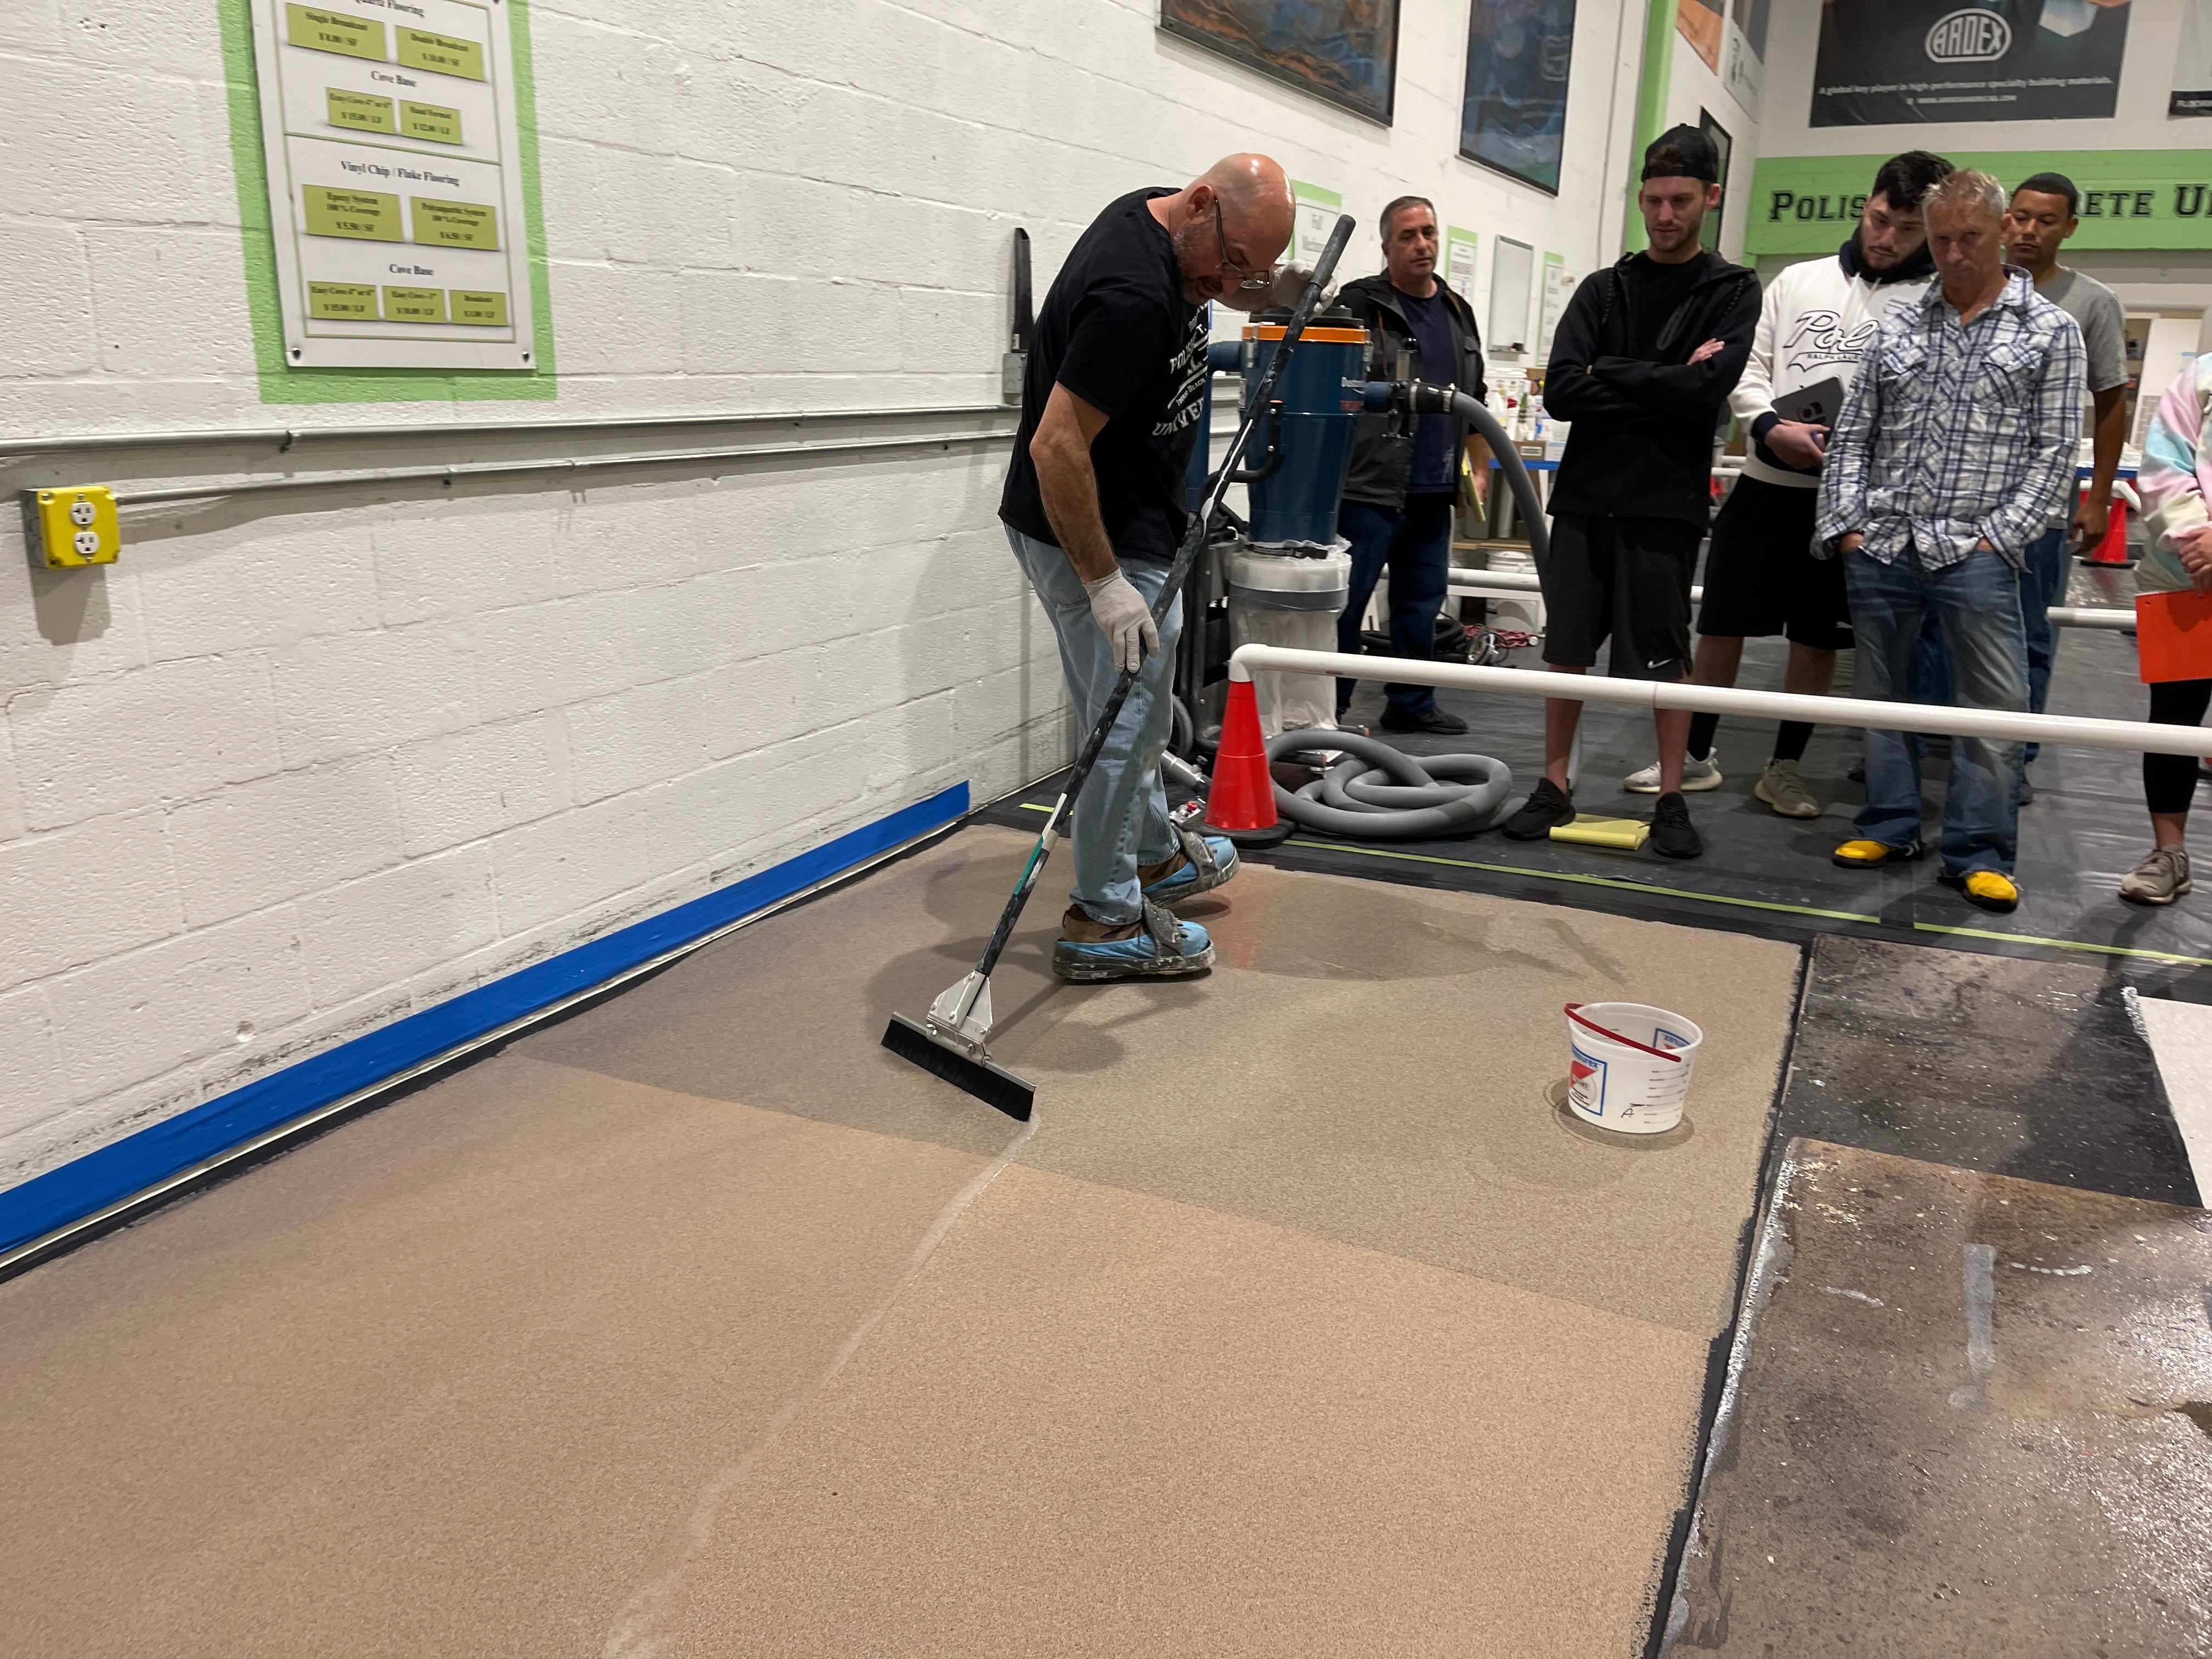
Mix the epoxy in small batches (following your manufacturer's guidelines closely to get your mixing times and ratios right) to ensure optimal workability. Typically, a traditional resin system allows for a 30-40 minute application window. Begin by pouring the epoxy and even it over the floor surface with a large squeegee.
You can use a taped-paint roller during this base coat, but we often don't recommend it for topcoats. A common failure point during this stage is applying the epoxy too thickly, which can lead to trapped bubbles and an uneven finish. Research your solutions rate of coverage, and practice application techniques such as when or when not to back-roll, squeegee leveling, and more.
Step 4: Decorative Epoxy Resin Vinyl Flaking
While the epoxy is still tacky, but not wet, it's time to add decorative flakes for a customized look. Broadcast the flakes from waist height in a chicken-feed motion to ensure even distribution across the surface. Varying the angles at which you toss the flakes can help avoid creating patterns, and using multiple sizes of flakes can create a visually appealing 3D effect.
This step is all you! Your vision, your choice of flakes, and broadcast percentage. There is no set guide for how to make your imagination a reality.
Step 5: Topcoat Sealing with Polyaspartic or Epoxy Resin
To complete the installation, apply a clear anti-slip topcoat, such as Rockhard Polyaspartic, within 90 minutes of the base coat application. For added traction, consider embedding aluminum oxide or polymer grit into the topcoat.
Warning: Neglecting to add a topcoat can expose the decorative flakes to wear and tear, significantly diminishing their lifespan.
The other reason why we highly suggest topping off your system with polyaspartic is because of the improved UV-stability! If you want your floors, or your client's floors, to look truly fresh for years to come, this is your guaranteed method.
Step 6: Curing Protocol
Proper curing is essential for the longevity and performance of your epoxy floor. Maintain temperatures between 65-85°F for at least 72 hours after application. If using space heaters to achieve the desired temperature, exercise caution as rapid heating can lead to brittleness. Avoid foot traffic for the first 24 hours and refrain from placing vehicles on the surface for a full 72 hours to ensure complete curing.
Here are just a few variables you need to keep in mind for figuring out your curing time:
- What is my ambient temperature? Is there hazardous weather expected?
- How long does my solution take to cure on average, according to the manufacturer?
- Am I curing polyaspartic or epoxy resin?
- What is the air flow in my workspace like?
- Have I followed the mixing ratios and working time properly?
- Am I looking to achieve the maximum chemical resistance possible?
While the manufacturer's guidelines can lead you in the general direction of a timeline for curing, only you know the answers to these specific questions that will help nail it down for certain. And at the end of the day, caution is the best protection against failure.
Conclusion
When executed correctly, garage floor epoxy can transform your garage into a stylish and durable space. However, it's essential to avoid shortcuts during the installation process, as certified training can resolve up to 80% of moisture-related failures. If you're considering a garage floor epoxy project, follow our work here at EpoxyETC for more guides and advice in the future!
Are you looking to stock up before your next weekend project? Reach out to our team at (954) 287-3797 today! Our EpoxyETC online store is your central hub for DIY epoxy resin project resources.


