Have you been wanting to learn how to create stunning epoxycountertops but have fallen short in the search for valuable information? Look no further! This is the go-to guide on creating stunning results!
Before we get into the nitty gritty of application, we need to discuss what epoxyis and why it is a viable countertop option.
Why Epoxy?
There are three main reasons that epoxyshould be on your mind when planning for your next project:
Scratch resistance
High shine
Seamlessness
These three key features are what makes epoxythe no-questions choice for your next project. Its scratch resistance is an essential quality because these surfaces are destined to be used and abused throughout their lifetime. Once the material is cured, it becomes a smooth, scratch resistant surface that will stand up against most common abrasions.
With these surfaces, one of the shining qualities is that their gorgeous shine will not fade over time. This is unlike traditional stone alternatives which will experience fading and deterioration of the finish over time.
When choosing a countertop solution, most traditional stone options will have inevitable seam lines in the stonework. This is a result of having limited customization of the stone that you are going to receive. With epoxy, you have total, 100% control of every aspect which allows for a totally seamless finish on your surface.
So, now that we have the basic information on what epoxyis and why it makes a perfect substance for countertops, let’s get into the fun stuff!
Tools & Products
We have curated a list of tools and products available on EpoxyETC that you need to follow this guide :
With any epoxyapplication, surface preparation is the single most important step in the process. Without a properly prepared surface, theepoxywill fail to adhere correctly and you will be redoing the process within 6 months. That is something we DEFINITELY want to avoid!
When it comes to surface prep, the job can be broken down into the following steps:
Prior Coating Removal
Grinding
Vacuuming
Chemical Decontamination
Prior Coating Removal
During the first step, you must completely remove the prior material on the countertop; i.e. marble, tile, granite, etc. This will leave you with the adhesive material that was laid underneath the countertop to secure it into place. The adhesive material will vary depending on the surface that was placed on top of it. You may encounter glue, thin set, mastic, or others. Recognizing which adhesive material is left will help us in the next steps of surface preparation.
Grinding
After recognizing the adhesive material left on the surface, grab a hand grinder,(we recommend theMakita Variable Speed Hand Grinder)attach a diamond grinding wheel, and begin sanding the surface of the countertop. This may take some time so be patient with the process. A surface that is prepped for epoxyneeds to be completely clear of large blemishes, yet not perfectly smooth. Epoxyneeds a slightly rough surface to ensure that the curing process happens correctly. When the surface epoxyis applied onto is too smooth, the epoxywill slip and slide right off, with nothing to hold on to.
Vacuuming
After the left-over adhesive material is grinded away and the surface is adequately sanded, we must thoroughly vacuum the surface. This step is extremely important because without it, numerous bond-breakers will be left on the surface.
What are bond-breakers? They are particles that, quite literally, break the bond of the epoxyto the surface; in the same way that an overly smoothed surface will. The most common bond-breaker is dust. Without properly vacuuming, thousands of particles of dust will be left to ruin your surface.
Although a traditional shop vacuum would usually suffice, we strongly recommend avacuum that has an included HEPA Filter. A vacuum that includes this filter will be sure to rid the air of 99.7% of particles that are 0.3 micron in diameter. This is a huge benefit because it keeps the majority of particles from blowing out of the vacuum and back onto your surface; causing more bond-breakers.
Using a smooth and even motion, vacuum the surface first from back to front, and then again from left to right. This crossing over of directions will be sure to fully remove all particles of dust and debris from the surface.
Chemical Decontamination
Now that your surface is ground and vacuumed properly, the final step of preparation is to remove any remaining particles, or possible bond-breakers that did not get picked up through vacuuming.
To clean and sanitize the surface, you can use denatured alcohol, acetone, or xylene. After vacuuming, take a microfiber towel and a spray bottle with the chemical of choice and proceed to wipe the entire surface down; making sure to do so thoroughly so no spots are missed. The chemical wipe down will effectively remove any microscopic particles that may have been missed during our vacuuming process.
Now that the surface has been fully and adequately prepared for epoxyapplication, be sure to avoid touching the surface so you do not unknowingly put bond-breakers back on the surface. The last thing you want to do is re-administer dust particles, or your body’s natural oils that will flaw your application process.
Mixing Process
Now that the surface is fully prepped, it is time to get things ready for the epoxy. Before we apply the epoxy, we have to go over how the products are mixed.
When you purchase an epoxy kit from EpoxyETC, you will receive 2 gallons of part A and 1 gallon of part B. With most of our kit systems, you will mix the product into a ratio of 2-parts A to 1-part B! This mixture can be made either with whole gallons or divided down into smaller proportions depending on the size of the countertop and covering ability you desire. Our kits are designed to cover 300 square feet, which is more than enough for the average countertop application.
Our epoxykit does not come pre-pigmented, yet we offer both liquid and powder pigments which will give your surface that mesmerizing, metallic movement. When you have picked out your pigment colors, now it is time to mix the product for application. You can browse our pigment selection here.
Taking two clean buckets, pour the appropriate amount of A into a bucket. Now, it is imperative that you mark the bucket to make sure that only A goes into the bucket. We cannot mix Part A and Part B until we are ready to place the epoxyonto the countertop. Once the two parts are mixed, there is only a 15-20 minute bucket time.
Now that Part A is in the bucket, it is now time to add pigment to the mixture, if desired. Regardless if you have chosen to use powder or liquid pigment, you will mix the pigment into Part A before mixing Part A into Part B. Be sure to stir the pigment into Part A thoroughly with a clean wooden paint stick. The reason we use a wooden paint stick is to reduce the chances of creating air bubbles in the epoxy, which will flaw our application process.
PRO TIP: Whenever mixing any kind of epoxy, ALWAYS use a clean wooden paint stick.
Now that our pigment is fully mixed into the Part A epoxy, we can mix Part B into Part A. Pour Part B directly into the Part A container, being sure to scrape the sides of the bucket to make sure all of the product is transported into the other container. Once both parts are together in one bucket, you must mix them thoroughly, with a wooden paint stick, for 3 minutes. This is a very important step so do not skip out on mixing. Once this mixing process begins, a chemical reaction occurs and the clock starts ticking.
PRO TIP: Once you mix Part A with Part B, a chemical reaction occurs that produces high heat. Be sure not to place the bucket of epoxy on anything that may be damaged by high heat.
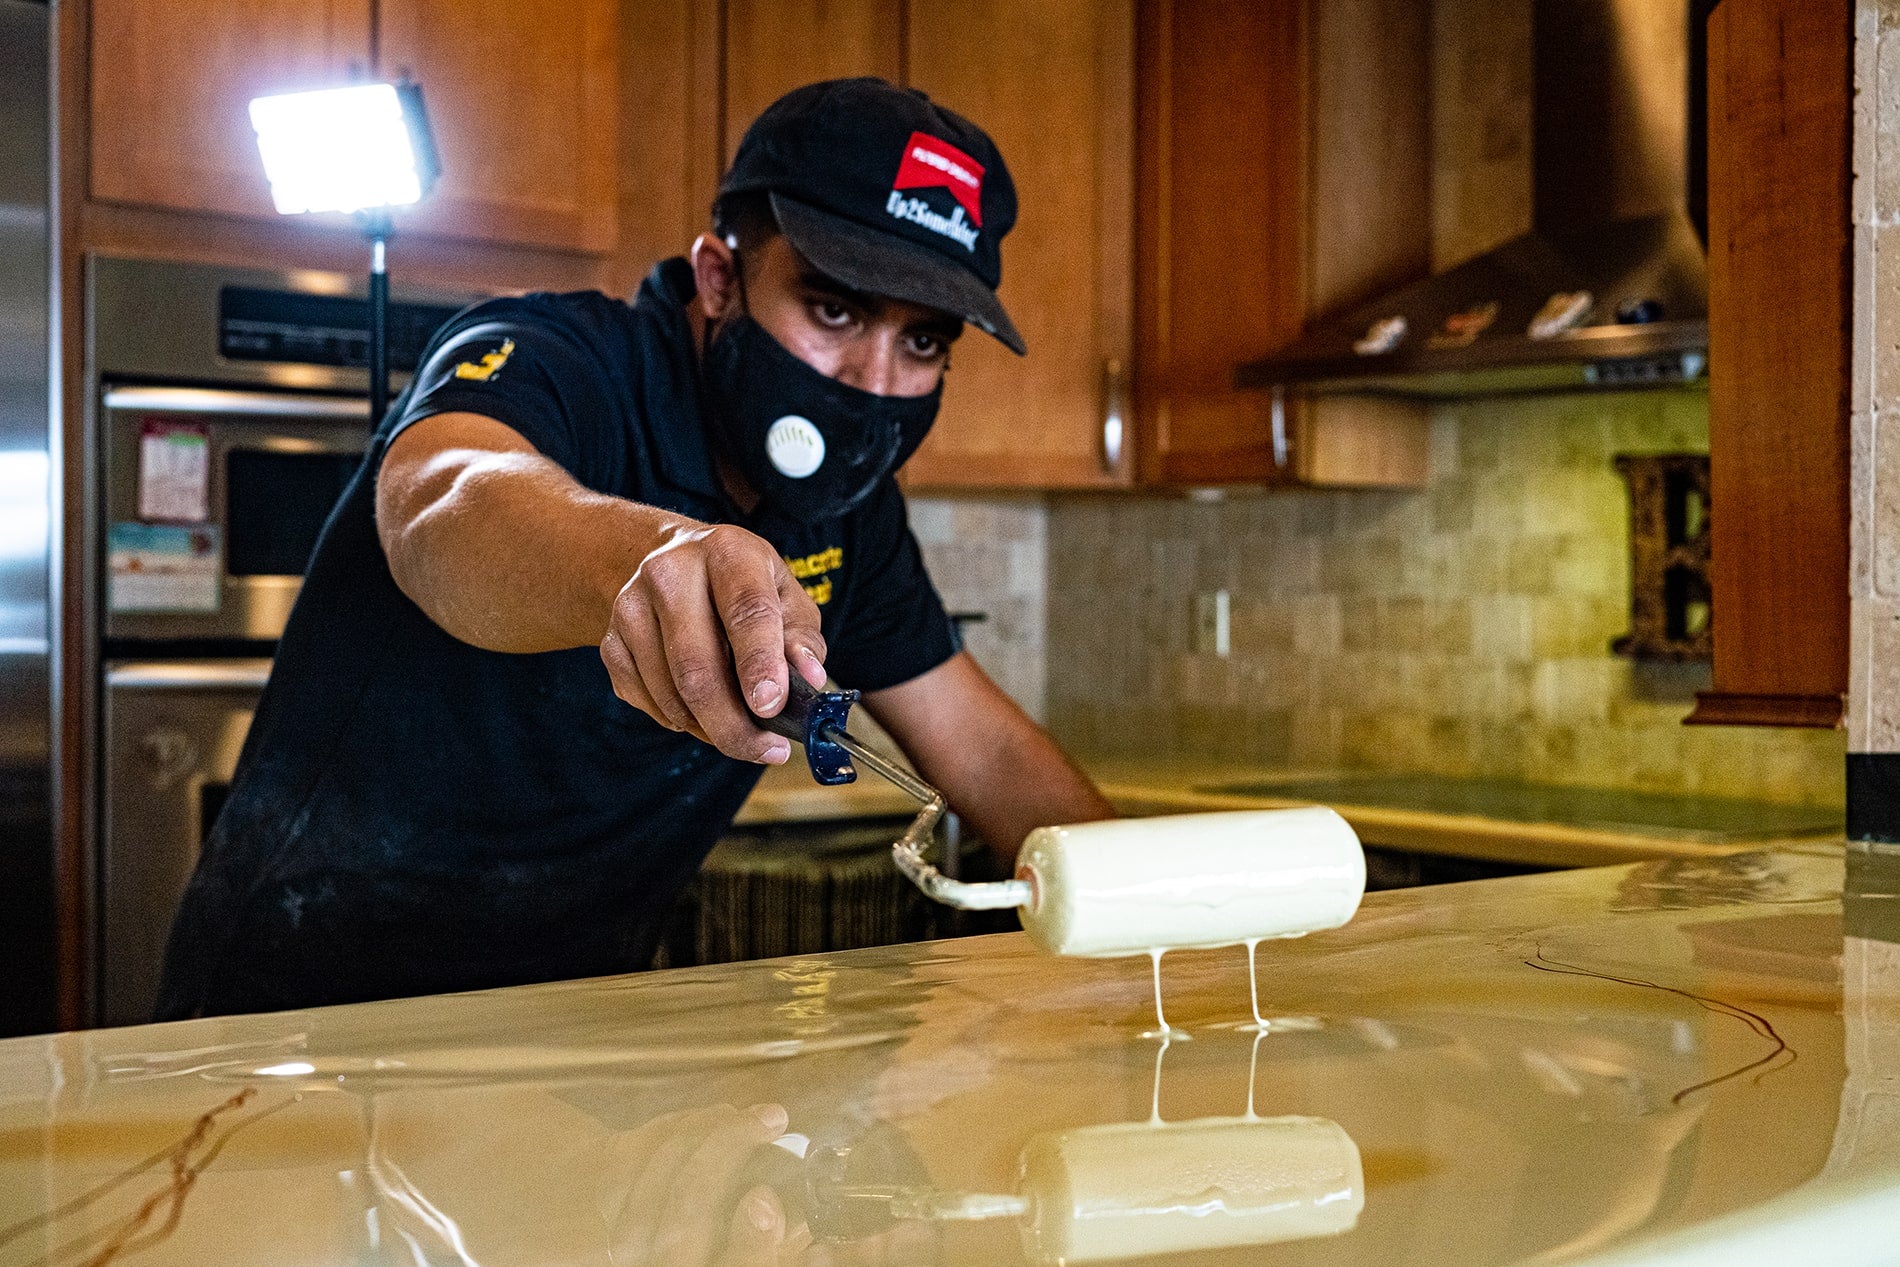
Application Process
Now that the surface is prepped and the epoxyis mixed, we are ready to apply it onto the countertop. To understand the application process, we have linked below a short video showing epoxybeing applied to a countertop.
In the video, you can see that, unlike traditional epoxyapplications, you do not want to roll the epoxyout all the way. This will remove the natural movement of the metallics. Instead, you want to take the roller and move the product around in zig-zag motions. This will help facilitate the natural movement of the epoxy.
PRO TIP: When using a roller for application, wrap the entire roller with blue painters’ tape and then remove the tape right away. This simple process will rid the roller of all excess fuss that would contaminate the surface.
Once the epoxyis applied with the roller, it will continue to self-level, but there is a process we can do to help make sure there are no air bubbles in the finish. Taking a propane flame, lightly go over the countertop roughly 6 inches above the surface. The heat from the flame will eliminate any air bubbles that may have been trapped in the surface during application.
After the base color layers are laid down, we must leave them to dry and cure completely. An epoxycountertop will take roughly 8-10 hours to fully cure. This again is an incredibly important process and one that cannot be rushed.
Clean Up
With any DIY work, but especially epoxy, clean-up is an important step. Epoxyis sticky and messy when not handled properly. When doing a countertop application, your main tool is going to be a roller. Keep in mind, these rollers are going to be a one-time use product. Thankfully, when done correctly, installing epoxycountertops is a one-time process.
Once the surface is completely finished and the curing process has begun, dispose of all materials that are not reusable. This includes rollers, plastic buckets, and wooden paint sticks. Epoxyis a hazardous material and so be sure that you are disposing of it in the safely, and in accordance with any local laws pertaining to hazardous materials.
Now that you have applied the epoxyand cleaned up the area, allow your surface to cure for at least 8-10 hours before use. This will ensure that the epoxyhas hardened to its full specification. Once hardened, the countertop is ready to be used and enjoyed for years to come.
Conclusion
Epoxycountertops are quickly becoming the gold standard in traditional stone alternatives. They produce amazing shine and beauty with unmatched durability. Your new countertop will be the centerpiece for your home, or business with years of hassle free maintenance.
If you have any other questions regarding creating or installing your own epoxycountertop, please call Epoxy ETC at(954)-799-6359and we will be glad to help.
Thanks for contacting us! We'll get back to you as soon as possible.
Thanks for subscribing
Thanks! We will notify you when it becomes available!
The max number of items have already been added
There is only one item left to add to the cart
There are only [num_items] items left to add to the cart
Comments